21 Decorate an Outdoor Christmas Tree in Expert Fashion

Transforming a living landscape evergreen into a radiant outdoor Christmas tree is the ultimate expression of holiday curb appeal and festive hospitality. However, decorating outdoors requires specialized techniques to withstand winter blizzards and freezing rain.
By mastering branch wrapping formulas, stormproof wire anchoring, electrical weatherproofing, and layered ornament scaling, you can decorate an outdoor Christmas tree that shines with commercial-grade majesty all season long.
Key Takeaways
- Wrap branches deeply inward
- Use shatterproof outdoor ornaments
- Secure decor with floral wire
- Protect all electrical cords
Outdoor Christmas Tree in Expert Fashion
Professional outdoor tree decorating begins with proper lighting calculations. Wrapping lights from the trunk outward along major branches requires approximately one hundred mini LED bulbs per vertical foot of tree height to achieve deep, three-dimensional brilliance.
Fastening decorations with heavy-gauge floral wire and enclosing electrical connections in water-tight safety capsules ensures your illuminated holiday tree stays safe and brilliant through sub-zero blizzards.
1. Plan Color Scheme
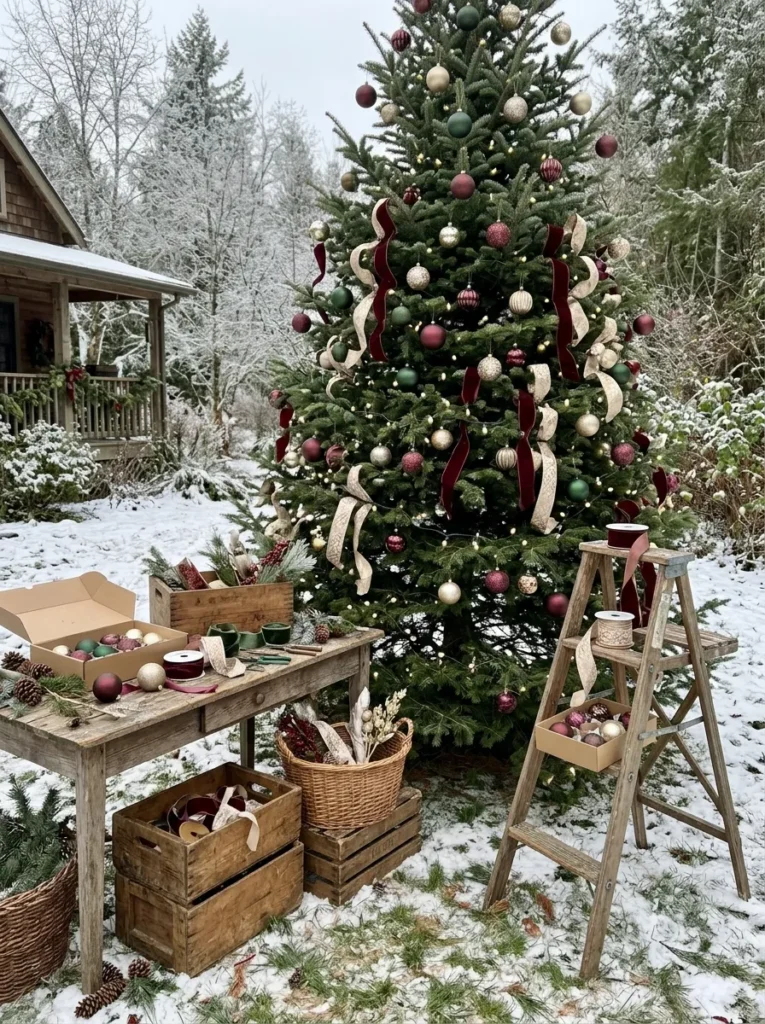
- Curated two-tone palette of warm white and champagne gold
- Ensures high contrast visibility against dark evergreen needles
- Cohesive upscale estate holiday aesthetic
The Look and Technique:
Establishing a disciplined two-color scheme before decorating prevents outdoor trees from looking cluttered or chaotic from the street.
Best Suited For:
Front lawn spruce trees, yard pines, and deciduous focal trees.
Pro Stylist Tip:
Maintain a seventy-thirty ratio between your dominant foundational color and accent metallic tones.
2. Measure Tree Height
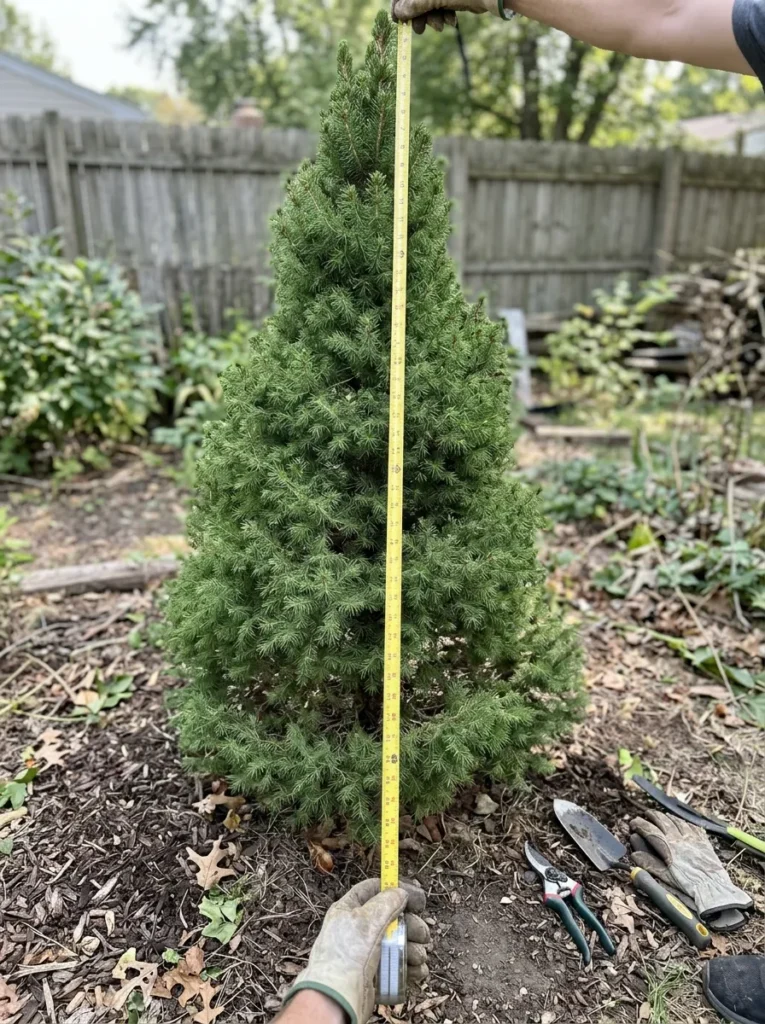
- Accurate measurement of tree height and girth
- Calculates required light strand footage accurately
- Eliminates frustrating mid-project supply shortages
The Look and Technique:
Measuring tree proportions beforehand allows decorators to purchase exactly the right quantity of lights and ornaments for full, balanced coverage.
Best Suited For:
All outdoor landscaping trees selected for holiday decorating.
Pro Stylist Tip:
Plan for approximately one hundred LED mini bulbs per vertical foot of tree height for dense, professional brilliance.
3. Outdoor Rated Cords

- Heavy-duty commercial 16-gauge outdoor extension cords
- Waterproof sealed socket caps and grounded plugs
- Essential safety foundation for winter electrical runs
The Look and Technique:
Using heavy-duty outdoor-rated cords protects your holiday display from electrical short circuits during freezing winter rains.
Best Suited For:
Main electrical runs connecting trees to exterior GFCI outlets.
Pro Stylist Tip:
Enclose every male-female cord connection inside a twist-lock waterproof safety capsule.
4. Spiral Lights Inward

- Weaving light strands deeply into interior branch crevices
- Wrapping branches from trunk outward to branch tips
- Creates three-dimensional illuminated depth
The Look and Technique:
Weaving lights deeply into interior branches ensures your tree glows with radiant internal warmth rather than a flat outer shell.
Best Suited For:
Dense conifer evergreens, spruce trees, and firs.
Pro Stylist Tip:
Work from top branches downward, wrapping branch stems neatly to secure cords against wind.
5. Begin Near Trunk
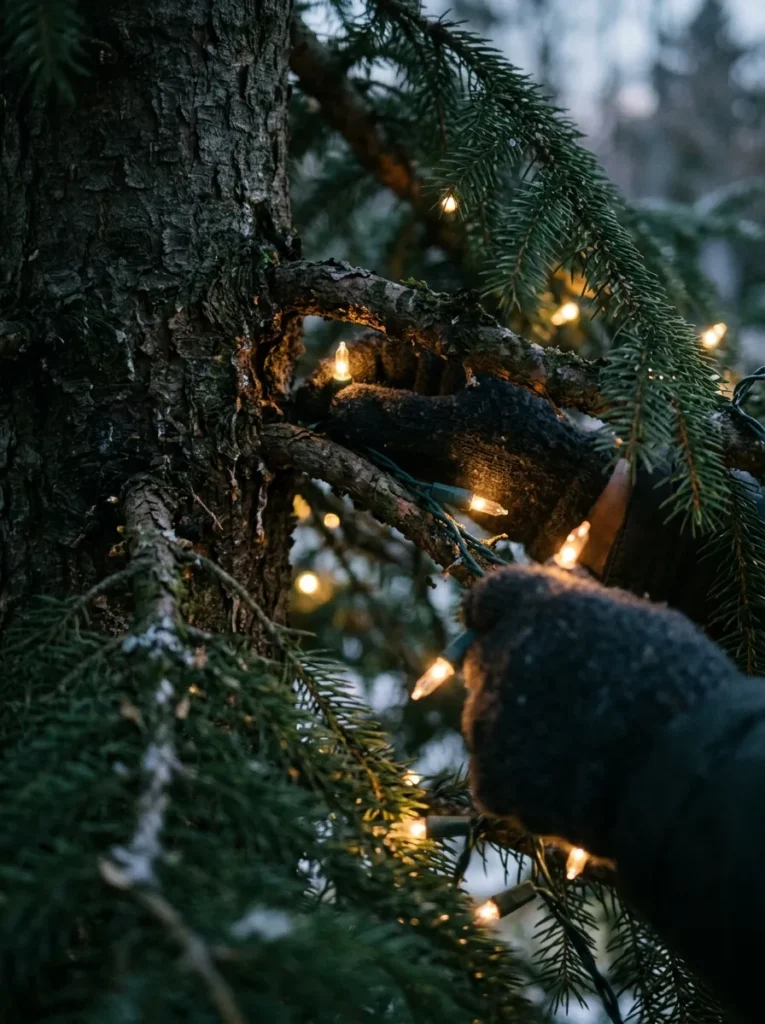
- Securing first light sockets directly against central trunk
- Establishes glowing central architectural tree core
- Prevents cords from sagging between outer branches
The Look and Technique:
Starting light runs near the central trunk creates an illuminated core that makes the entire tree look lit from within.
Best Suited For:
Evergreen pines, broad spruces, and deciduous winter trees.
Pro Stylist Tip:
Fasten the trunk light strand with reusable zip ties to keep vertical power feeds neatly organized.
6. Space Bulbs Evenly
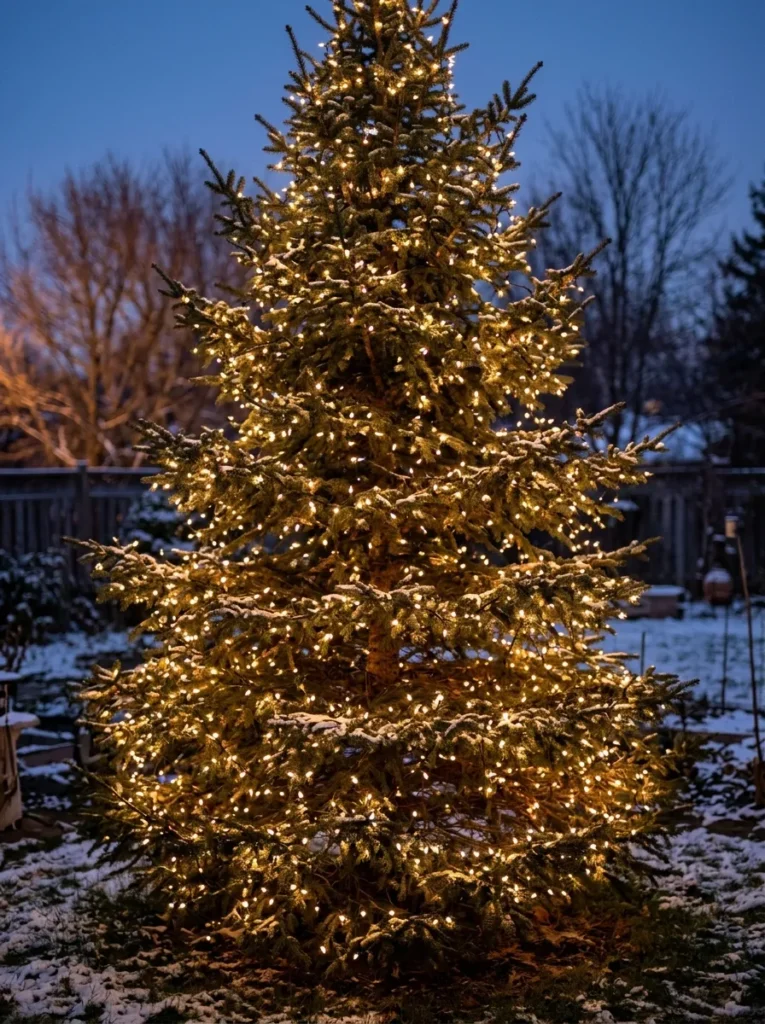
- Uniform six-to-eight-inch spacing between bulb clusters
- Eliminates unsightly dark gaps across the canopy
- Polished commercial landscape lighting appearance
The Look and Technique:
Maintaining consistent bulb spacing ensures your tree presents a uniform, dazzling silhouette from every street angle.
Best Suited For:
Outer branch perimeters and tree canopy profiles.
Pro Stylist Tip:
Step back forty feet every three rows to check for dark voids and adjust branch wrapping accordingly.
7. Large Ornaments First

- Hanging oversized twelve-to-eighteen-inch baubles first
- Anchors primary visual weight in deeper interior branch gaps
- Establishes professional scale and depth
The Look and Technique:
Placing your largest ornaments first allows you to nestle them deeply into branch pockets, anchoring visual weight before adding accents.
Best Suited For:
Interior conifer branches and sturdy deciduous boughs.
Pro Stylist Tip:
Nestle large ornaments into branch forks where natural timber supports the weight.
8. Secure With Wire
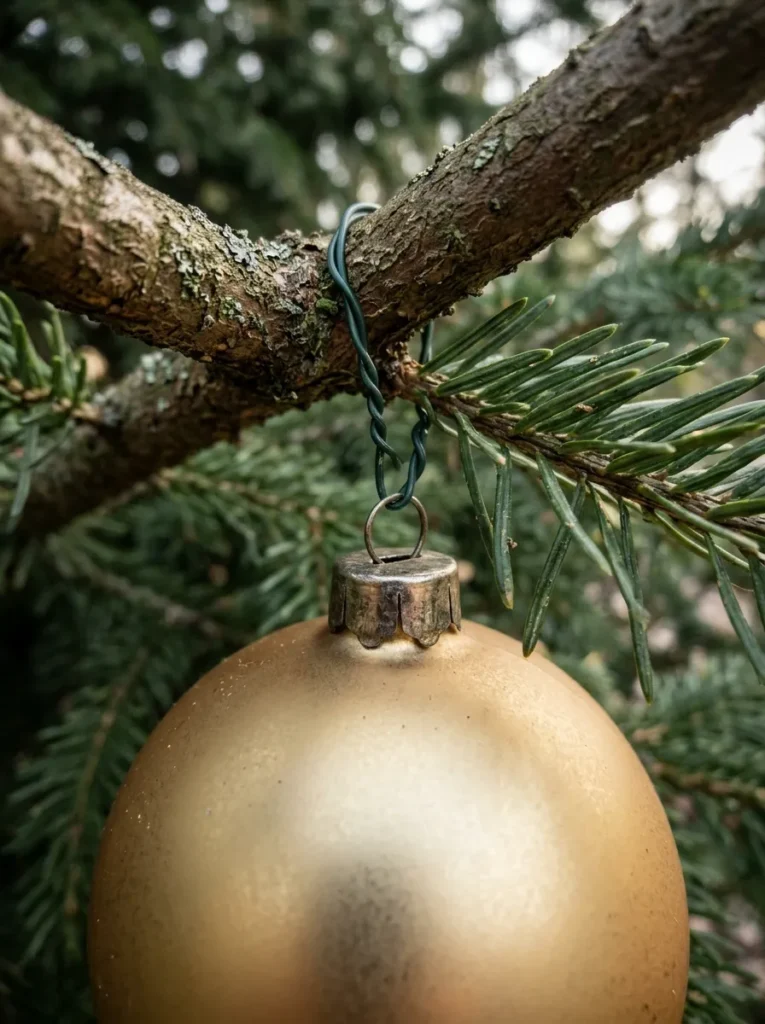
- Heavy-gauge green floral wire or plastic cable ties
- Wraps tightly around branches instead of flimsy wire hooks
- Stormproof attachment that resists winter gusts
The Look and Technique:
Fastening ornaments with heavy floral wire ensures decorations remain securely attached through ninety-mile-per-hour winter winds.
Best Suited For:
All exterior tree branches exposed to seasonal drafts.
Pro Stylist Tip:
Twist wire ends three full rotations with pliers to lock hanging loops firmly against tree limbs.
9. Add Ribbon Loops
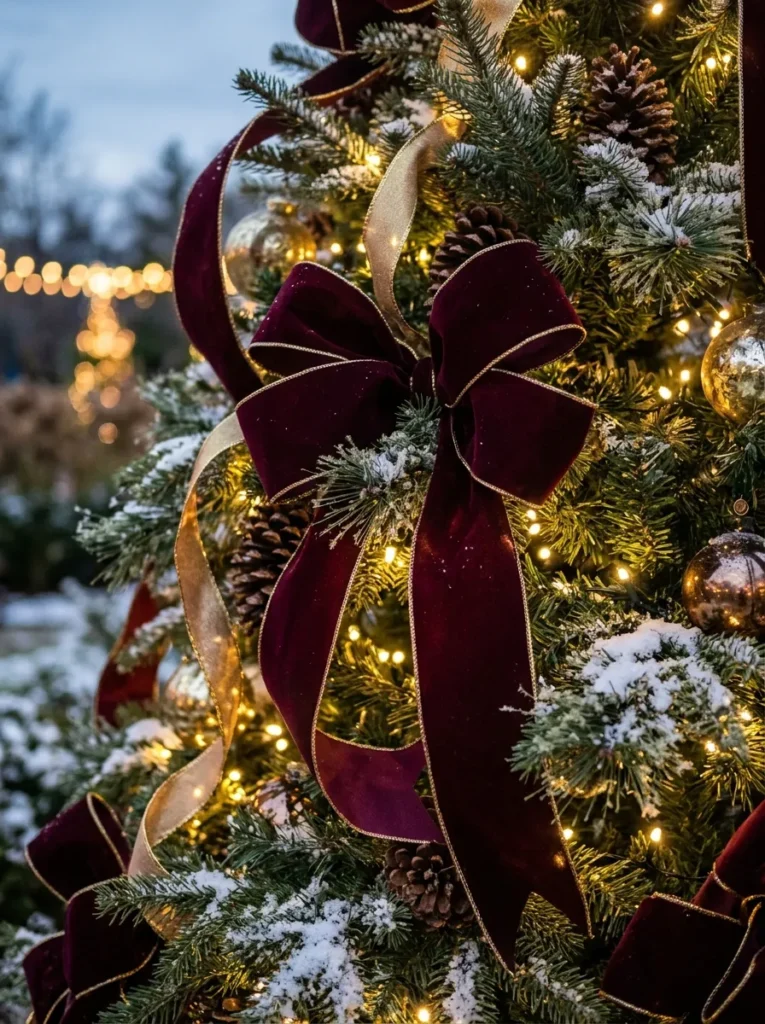
- Wide weather-resistant wired burlap or velvet ribbon
- Tucked into branch tips in tailored billowy loops
- Adds rich textile dimension and color
The Look and Technique:
Weaving wide weatherproof ribbon loops through outer branches softens harsh needles with luxurious textile elegance.
Best Suited For:
Mid-level and outer evergreen branch tips.
Pro Stylist Tip:
Choose ribbon with integrated brass wire edges that maintain sculptural poufs despite damp winter air.
10. Fill Gaps Picks

- Oversized glittered berry sprays and frosted pinecone picks
- Inserted into sparse branch gaps across the canopy
- Creates lush full silhouette on natural trees
The Look and Technique:
Inserting oversized berry picks into thin branch gaps gives natural landscape trees the dense, lush fullness of luxury catalog trees.
Best Suited For:
Sparse branch sections and irregular evergreen canopies.
Pro Stylist Tip:
Push pick stems deep into foliage and secure to main branches with green floral wire.
11. Weatherproof Topper Choice
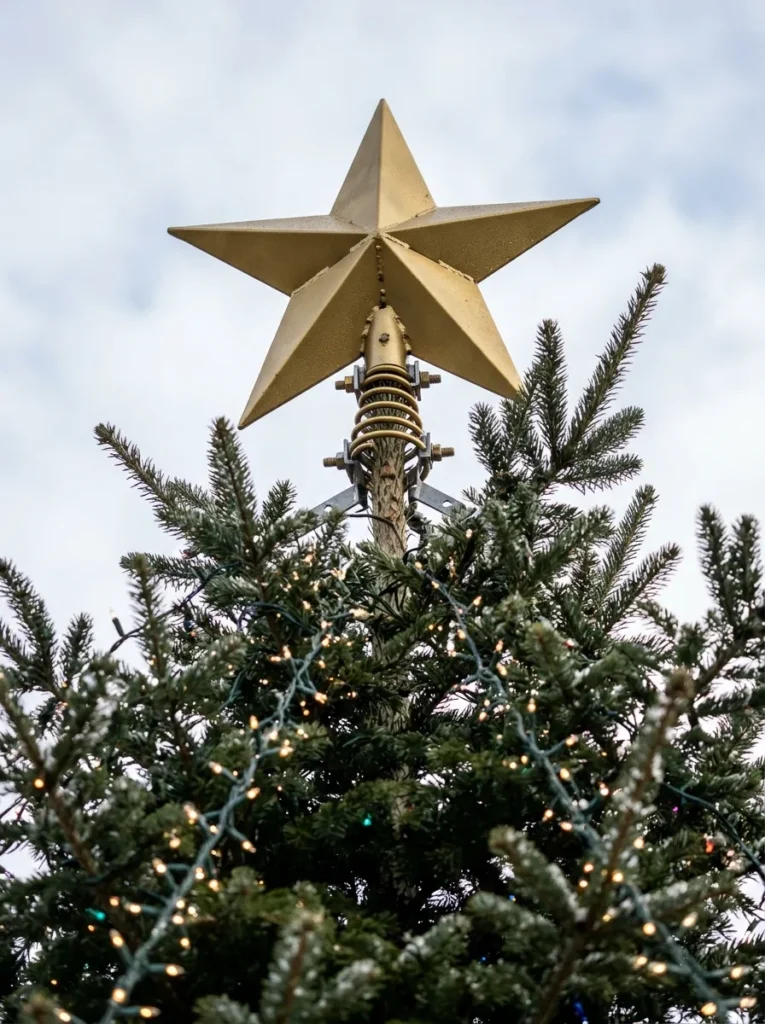
- Oversized star or finial crafted from powder-coated steel
- Fitted with reinforced central trunk clamp hardware
- Stately crowning jewel that withstands blizzards
The Look and Technique:
Crowning outdoor trees with a heavy-duty steel star anchored by tree clamps ensures your topper stays upright through blizzards.
Best Suited For:
Central tree leader branch and highest apex bough.
Pro Stylist Tip:
Splint the tree top leader branch with a rigid wooden dowel and zip ties to support heavy toppers.
12. Uplight From Below

- Pair of fifty-watt warm white commercial landscape spotlights
- Aimed upward into tree canopy at forty-five degrees
- Dramatic theatrical estate illumination
The Look and Technique:
Positioning ground spotlights to uplight the tree canopy illuminates exterior ornaments and branches with dramatic estate majesty.
Best Suited For:
Turf perimeters around outdoor tree drip lines.
Pro Stylist Tip:
Angle spotlights upward away from the road to prevent glare in passing drivers eyes.
13. Timer Automation
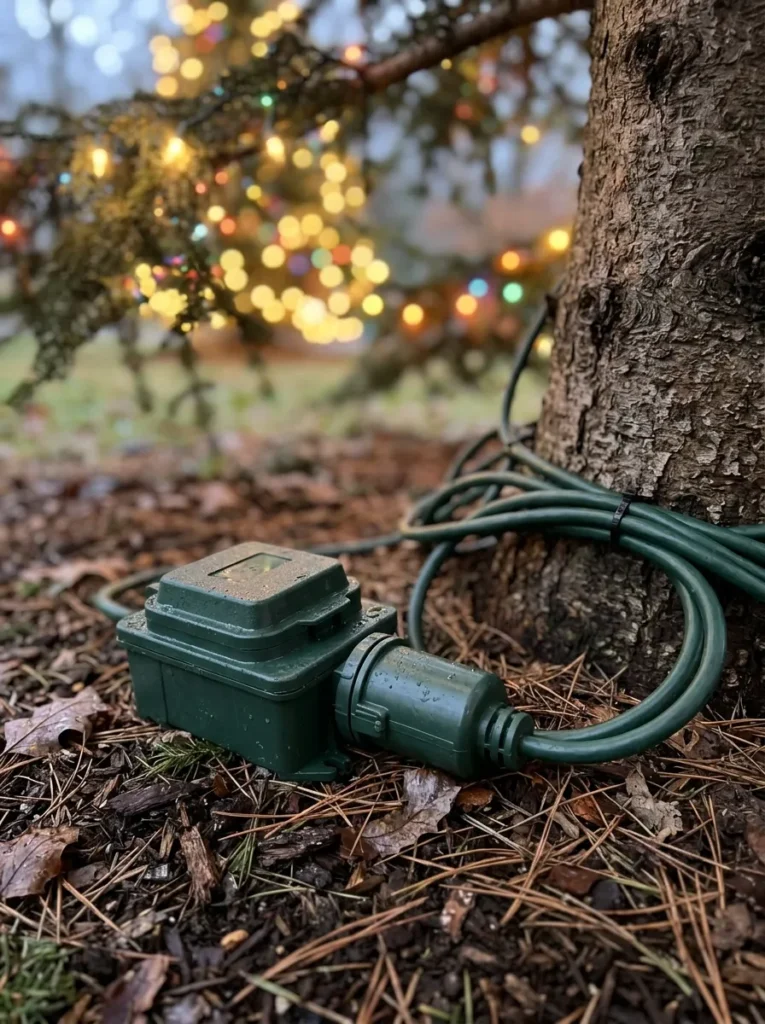
- Smart Wi-Fi outdoor plug with astronomical dusk-to-dawn timer
- Automates lighting synchronized with seasonal sunset
- Effortless hands-free holiday management
The Look and Technique:
Connecting tree lighting to astronomical smart timers ensures your tree turns on automatically right as twilight falls each evening.
Best Suited For:
Outdoor GFCI receptacles and extension cords.
Pro Stylist Tip:
Set timers to turn lights off at midnight to conserve electricity while enjoying peak evening hours.
14. Mix Matte Shiny
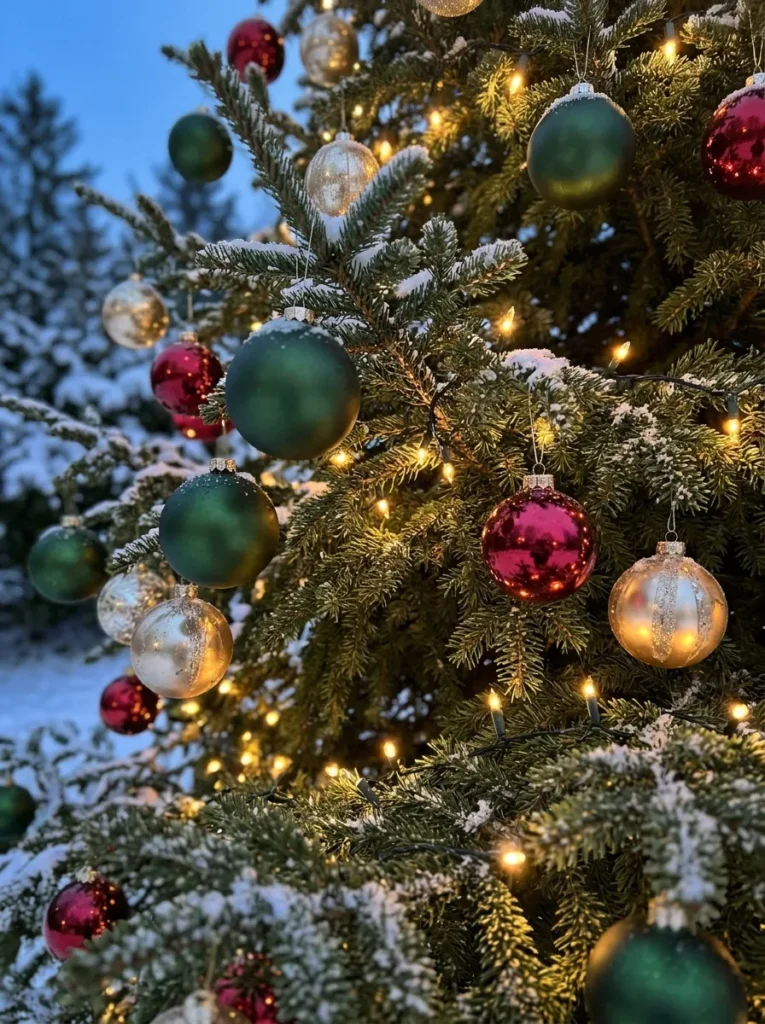
- Balanced ratio of high-gloss reflective and matte flocked spheres
- Creates sophisticated visual contrast under daylight and dusk
- Designer-grade collected tree aesthetic
The Look and Technique:
Combining mirror-finish shiny ornaments with velvety matte flocked baubles adds rich visual contrast that looks stunning in all light.
Best Suited For:
Whole tree canopy ornament distribution.
Pro Stylist Tip:
Maintain a two-to-one ratio of shiny reflective ornaments to matte spheres for maximum light reflection.
15. Bird Safe Items

- Edible pinecone ornaments rolled in suet and birdseed
- Accents lower branches with functional wildlife treats
- Eco-friendly winter foraging support for songbirds
The Look and Technique:
Hanging birdseed-coated pinecones on lower branches celebrates the season by feeding foraging winter songbirds in your garden.
Best Suited For:
Lower tree branches easily accessible to local birds.
Pro Stylist Tip:
Keep edible ornaments strictly on lower branches away from electrical wiring and string lights.
16. Check Branch Strength
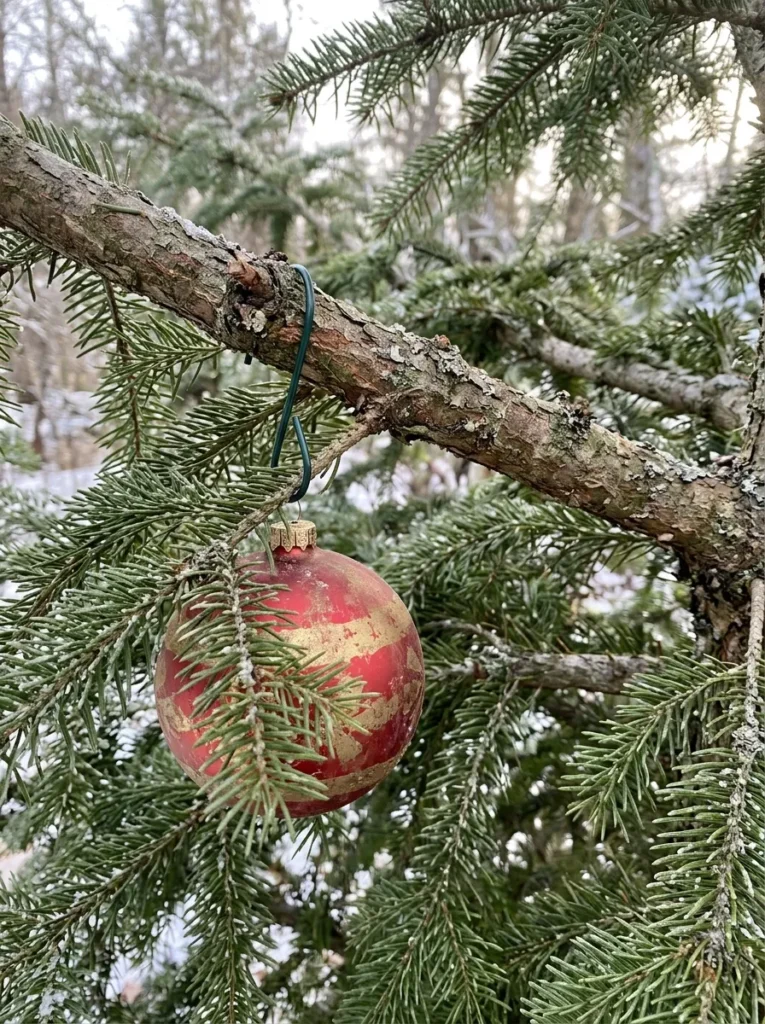
- Inspecting branch thickness and flexibility before hanging
- Ensures limbs will not snap under wet snow weight
- Protects tree health and ornament safety
The Look and Technique:
Testing branch resilience before hanging heavy decorations prevents broken limbs when heavy wet snow accumulates overnight.
Best Suited For:
Outer perimeter branches and lateral limbs.
Pro Stylist Tip:
Only hang ornaments exceeding two pounds on branches thicker than two inches in diameter.
17. Ground Stake Anchors
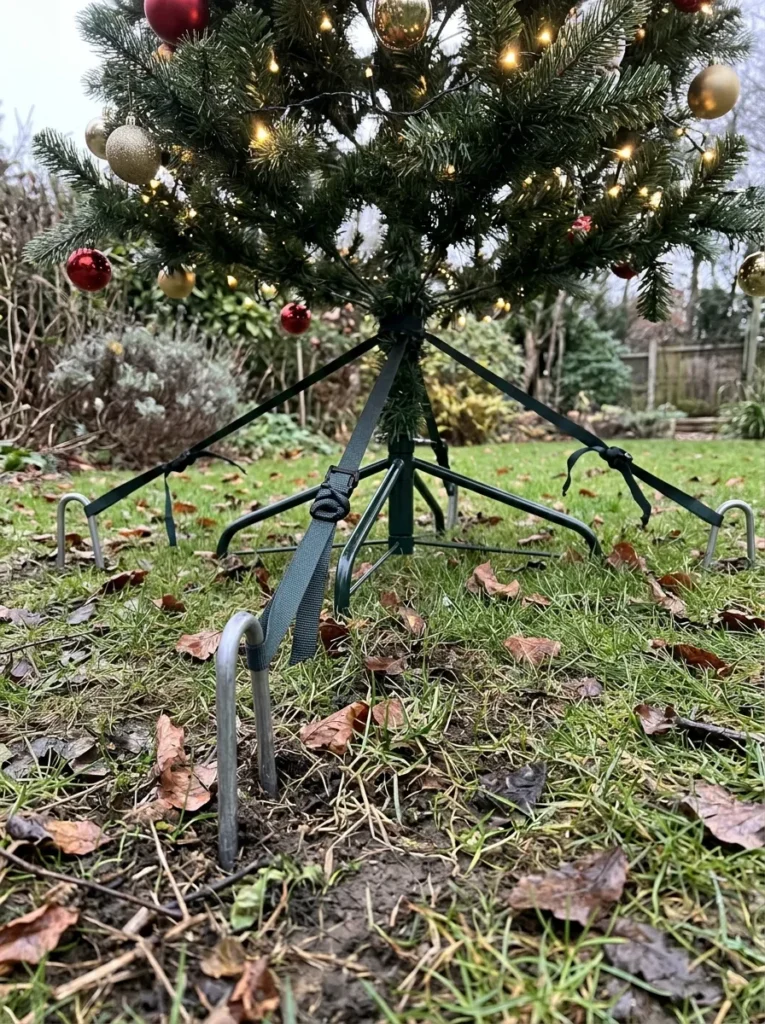
- Heavy steel spiral tent stakes securing extension cords
- Pins electrical wires flush against turf under snow
- Prevents trip hazards and lawn mower cord damage
The Look and Technique:
Pinning electrical cords flush with the ground using steel staples prevents family members and pets from tripping over hidden cords.
Best Suited For:
Turf areas between outdoor trees and house outlets.
Pro Stylist Tip:
Push staples deep into soil so cord runs lie flat beneath falling autumn leaves and snow.
18. Avoid Glass Breakables
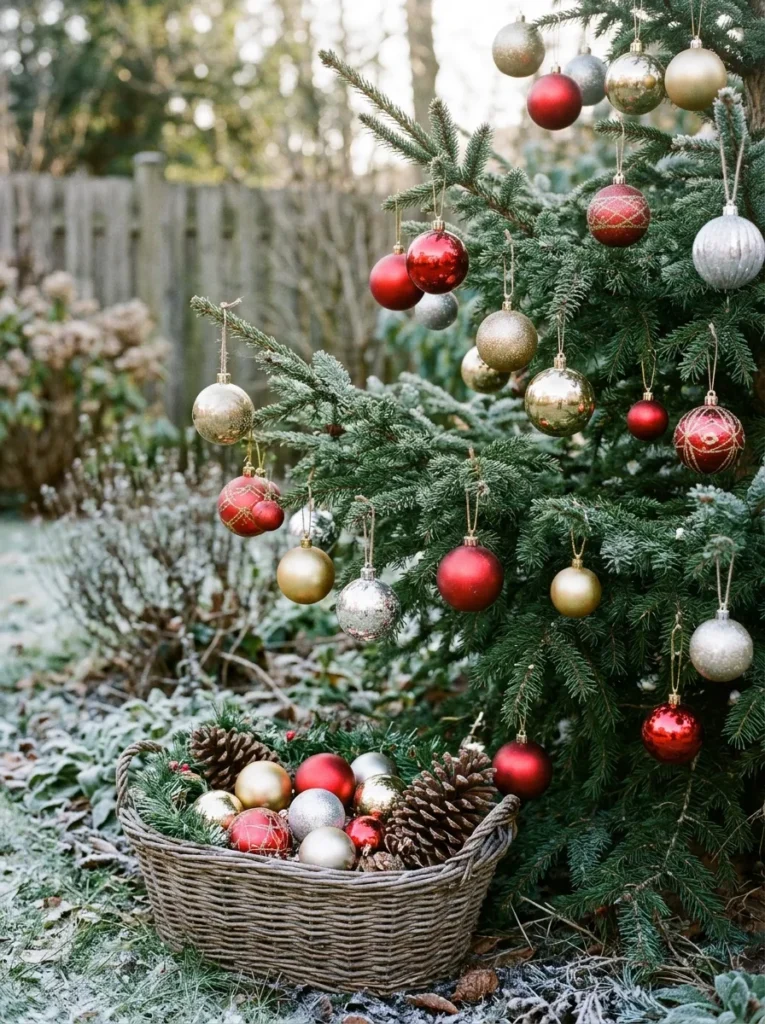
- Strictly banning fragile indoor glass ornaments outdoors
- Prevents dangerous glass shards across family lawns
- Essential safety protocol for outdoor decorating
The Look and Technique:
Restricting outdoor decorations strictly to shatterproof polymers and metals eliminates broken glass hazards across lawns.
Best Suited For:
All outdoor trees, shrubs, and exterior landscape features.
Pro Stylist Tip:
Save fragile heirloom glass baubles exclusively for sheltered indoor Christmas trees.
19. Test Before Hanging

- Plugging in every light strand and testing sockets indoors
- Verifies all bulbs and fuses work before ladder work begins
- Saves frustrating high-altitude troubleshooting
The Look and Technique:
Testing every strand of lights indoors before climbing ladders saves frustrating high-altitude bulb troubleshooting in freezing cold.
Best Suited For:
Indoor staging area before carrying supplies outside.
Pro Stylist Tip:
Replace any burned-out individual bulbs immediately to preserve the operating lifespan of remaining lights.
20. Final Distance Look
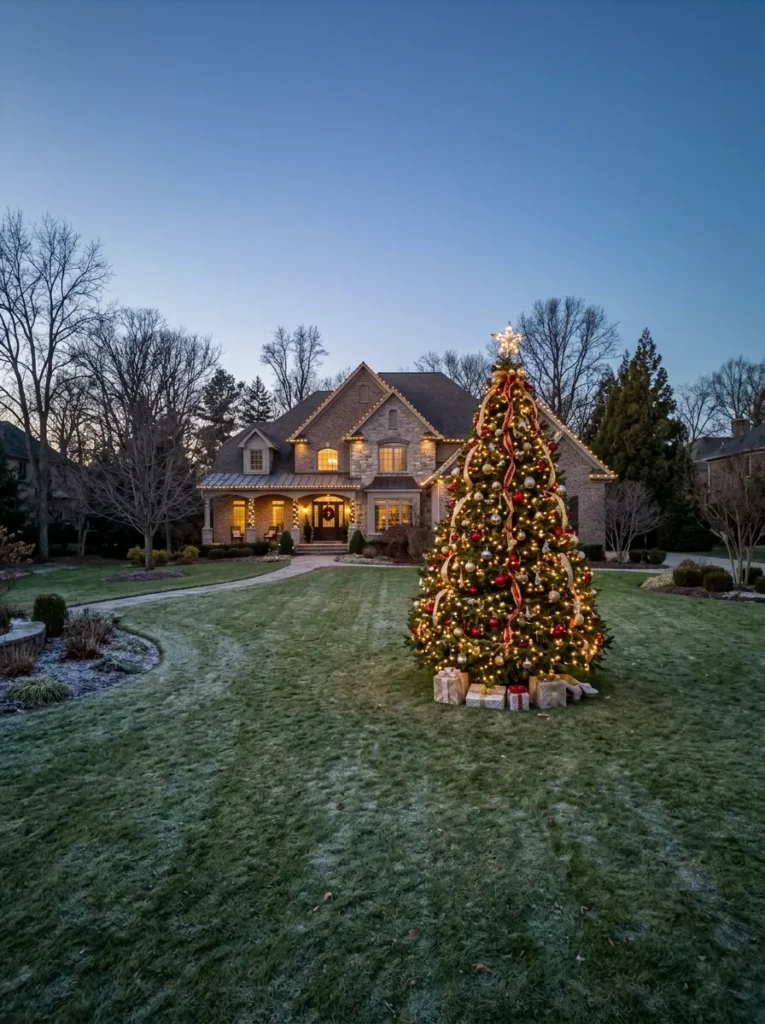
- Walking forty yards out to curbside street viewing angle
- Evaluates overall balance, dark spots, and symmetry
- Professional editorial landscape inspection
The Look and Technique:
Viewing your decorated tree from roadway angles allows you to spot and correct minor dark patches or lopsided ornament clusters.
Best Suited For:
Curbside street view, front walkway, and driveway approach.
Pro Stylist Tip:
Conduct distance inspections at dusk when ambient lighting reveals exact bulb balance across branches.
21. Store Strands Labeled
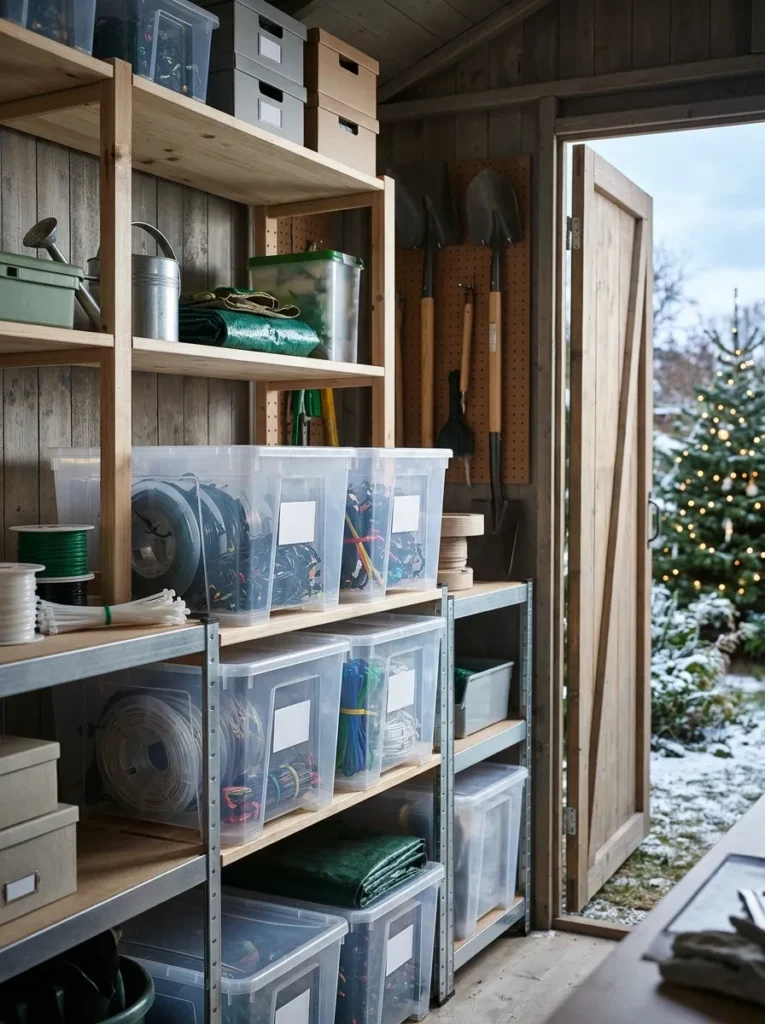
- Wrapping light strands around plastic cord reels post-holiday
- Labeling reels with tree section and branch placement
- Guarantees effortless twenty-minute setup next winter
The Look and Technique:
Winding light strands onto labeled storage reels in January guarantees an organized, tangle-free setup when next Christmas arrives.
Best Suited For:
Storage totes, garage storage shelves, and basements.
Pro Stylist Tip:
Label reels clearly with blue painter tape indicating ‘Top Canopy’, ‘Mid Trunk’, or ‘Bottom Branches’.
Comprehensive Pro Styling and Maintenance Guide
Executing high-impact styling demands understanding scale, structural safety, and durability. Consult this material and placement matrix before outfitting your space.
| Decorating Step | Core Technique | Safety Factor | Primary Objective |
|---|---|---|---|
| Trunk Core Lighting | Wrap trunk from ground up | Secure with zip ties | Deep 3D illuminated core |
| Branch Spiral Wrapping | Wrap stems trunk to tip | Avoid tight bark pinch | Dense canopy radiance |
| Stormproof Anchoring | Heavy green floral wire | Twist 3x with pliers | Wind and blizzard proof |
| Automated Timer Control | Smart outdoor Wi-Fi plug | GFCI grounded outlet | Automated dusk-to-dawn glow |
Outdoor Christmas Tree Step-by-Step Decorating Protocol
- Inspect Tree Structure and Measure Dimensions: Measure tree height and branch girth to calculate necessary light footage and check limb strength.
- Test All Light Strands Indoors First: Plug in every light strand indoors to verify working bulbs and fuses before carrying cords outside.
- String Lights from Trunk Outward: Begin at the tree trunk base, wrapping outward along branches to create deep interior lighting depth.
- Hang Large Ornaments Deep in Branches: Nestle oversized shatterproof globes deeply in sturdy branch forks, securing loops with floral wire.
- Install Clamped Topper and Set Timers: Splint top leader branch with dowel, mount topper firmly, and program smart plug for dusk illumination.
Frequently Asked Questions
How many lights do I need to decorate an outdoor Christmas tree?
A standard professional rule of thumb is one hundred mini LED bulbs per vertical foot of tree height. For dense, dazzling commercial coverage, increase to one hundred fifty bulbs per foot.
Can I use indoor Christmas lights on an outdoor landscape tree?
Never use indoor-rated lights outdoors. Indoor cords lack moisture-resistant insulation and will short circuit, trip breakers, or create fire hazards when exposed to rain and snow.
How do I secure a tree topper on a tall outdoor evergreen?
Splint the top central leader branch with a twelve-inch wooden dowel fastened with zip ties. Mount the topper over the reinforced dowel to prevent wind gusts from bending the tip.
Will heavy snow break tree branches decorated with Christmas lights?
Heavy wet snow can weigh down limbs. Gently brush heavy snow off decorated branches using an upside-down broom, sweeping upward rather than downward.
What is the best way to remove lights without damaging tree needles in January?
Unwrap strands patiently in reverse order on a calm, mild afternoon. Avoid pulling or yanking cords, which strips evergreen needles and damages buds.
Final Editorial Verdict and Styling Recommendation
Decorating an outdoor landscape tree for the holidays creates an unforgettable community landmark that spreads joy, wonder, and seasonal goodwill to everyone who passes by. Stately illuminated evergreens celebrate the true magic of winter.
Prioritize deep branch lighting formulas, stormproof wire anchoring, and certified outdoor electrical hardware to design a majestic outdoor holiday tree that braves winter weather with grace.Visit nashradecor for more details.