18 Stunning Decorating Your Home for Christmas Step by Step
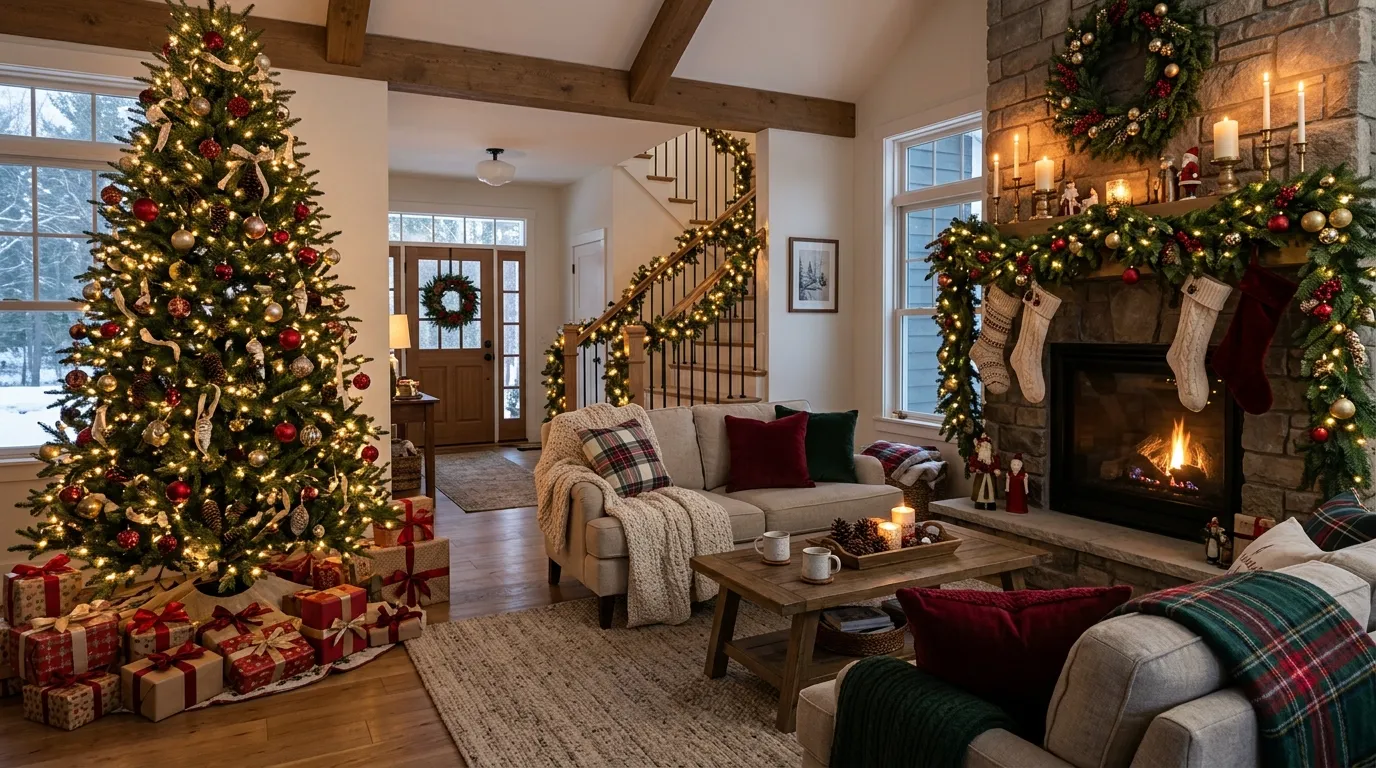
Decorating your home for the holidays should be a joyful, cherished ritual rather than a stressful, chaotic chore. When approached with an organized, step-by-step method, the process becomes relaxing, creative, and deeply rewarding.
Following a logical order of operations ensures your lighting is seamless, surfaces stay uncluttered, and every room flows harmoniously. This comprehensive 18-step blueprint guides you toward a magazine-worthy holiday home.
Key Takeaways
- Declutter before unpacking bins.
- String lights trunk outward.
- Hang large baubles deep.
- Smart plugs automate timers.
Following a Proven Sequence for Flawless Holiday Staging
Decorating Your Home for Christmas Interior stylists approach holiday decorating methodically. Clearing away everyday decor and perfecting your tree’s foundation creates an organized canvas for layered greenery and textiles.
Progressing logically from structural focal points to sensory finishing touches—like simmering spiced pots and cozy throw blankets—builds an enchanting winter haven your family will treasure.
1. Declutter Surfaces First
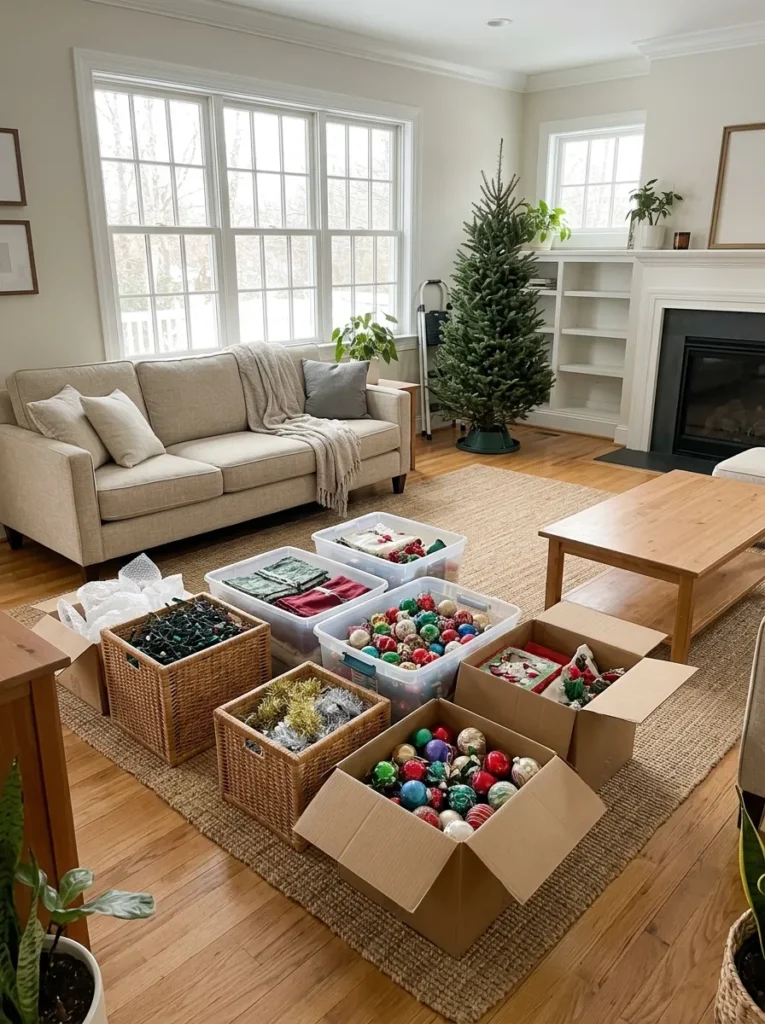
- Clean empty tabletop surfaces
- Pack everyday decor in labelled totes
- Wipe dust from mantels and shelves
The Look and Technique:
Clearing away everyday knickknacks and clutter creates a clean visual slate so festive holiday decorations shine without feeling chaotic.
Best Suited For:
Living room mantels, entry tables, and coffee tables.
Pro Stylist Tip:
Pack your everyday decorative accents directly into holiday storage bins to keep closets organized.
2. Choose Color Palette

- Select three cohesive holiday colors
- Classic red, gold, and hunter green
- Modern cream, champagne, and sage
The Look and Technique:
Establishing a clear color palette before decorating unifies tree trims, throw pillows, and tabletop garlands into a cohesive design.
Best Suited For:
Full home interior decorating plan.
Pro Stylist Tip:
Stick to a consistent accent metal (brushed brass or antique silver) across rooms to maintain visual flow.
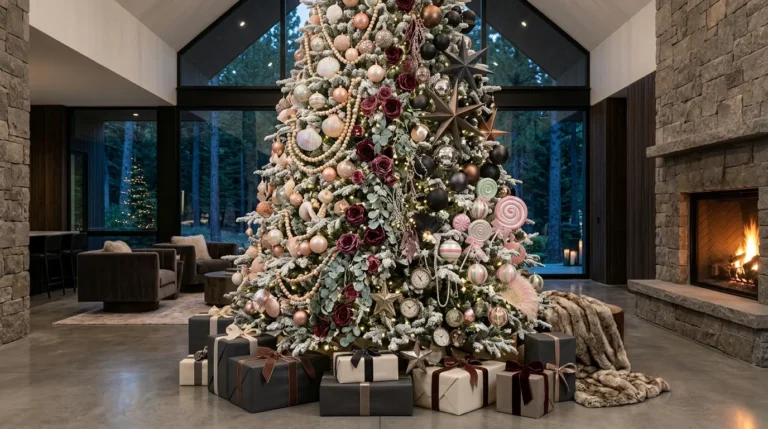
3. Set Up Tree
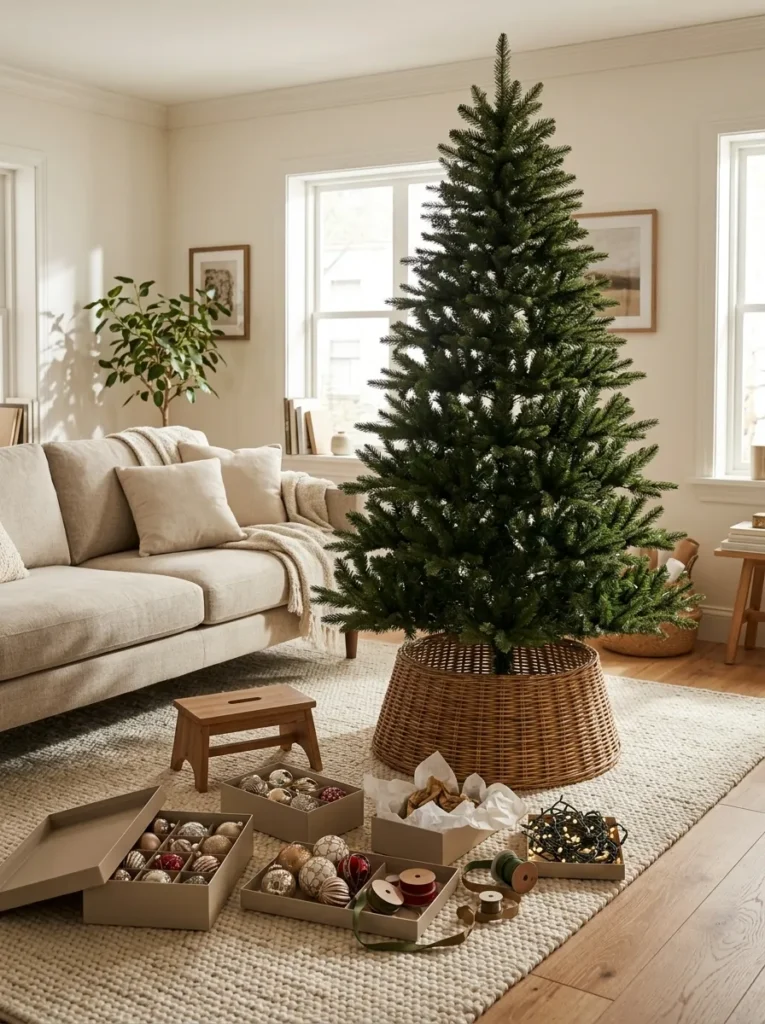
- Secure sturdy metal tree stand
- Ensure straight vertical trunk alignment
- Lock screw clamps firmly
The Look and Technique:
Erecting your tree in a central living room focal spot establishes the majestic anchor for all subsequent holiday decorating.
Best Suited For:
Living room bay windows and central focal corners.
Pro Stylist Tip:
Place a waterproof plastic saucer beneath live tree stands to protect wood floors from water spills.
4. Fluff Branches Fully
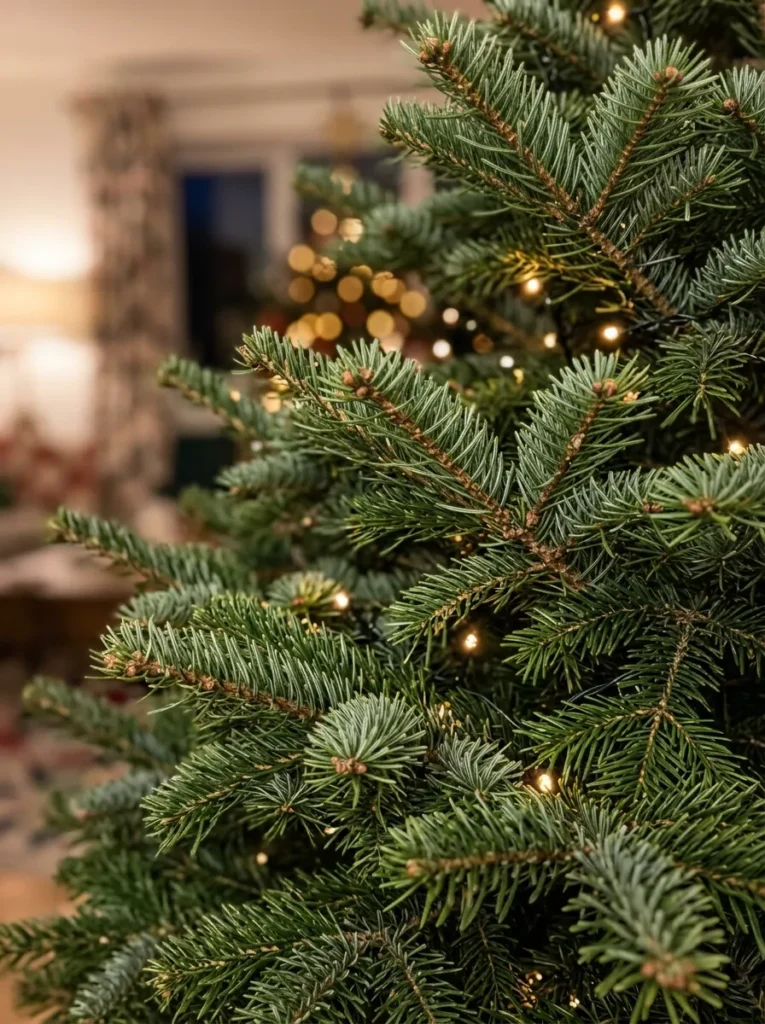
- Work from trunk out to tips
- Shape individual wire branch tips
- Fill interior negative space gaps
The Look and Technique:
Spending forty-five minutes shaping and spreading artificial branches transforms sparse boxed trees into lush, full evergreens.
Best Suited For:
Artificial fir and spruce Christmas trees.
Pro Stylist Tip:
Wear cotton gardening gloves while fluffing to protect hands from scratchy artificial needles.
5. String Lights Inside Out
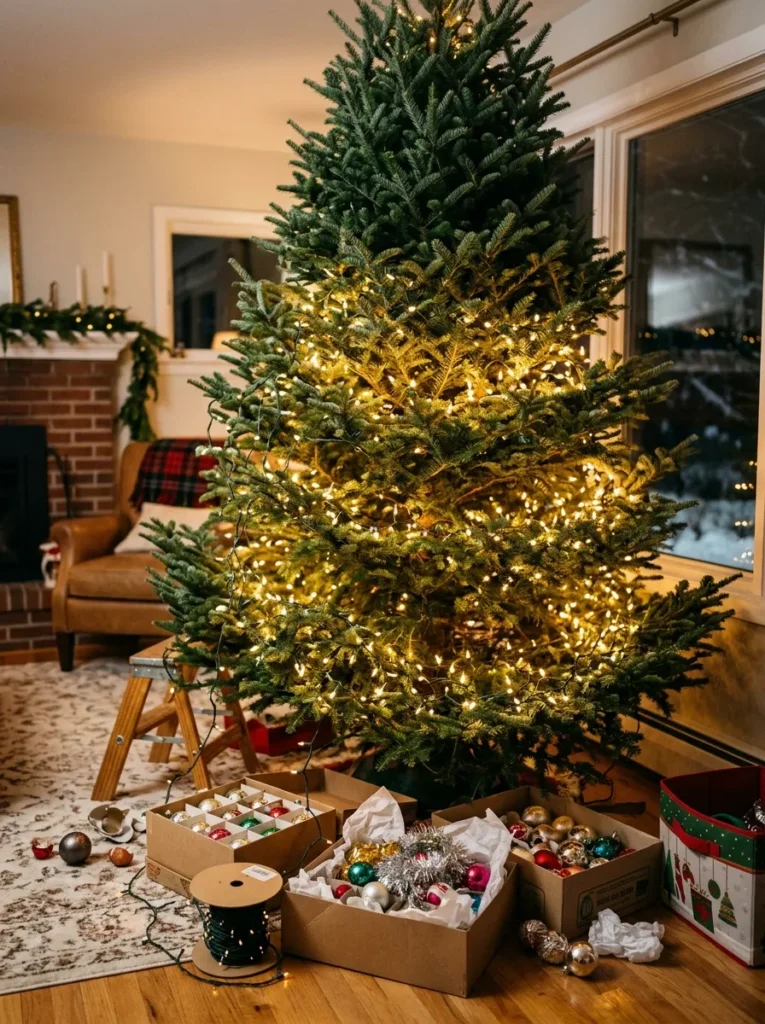
- Wrap lights from trunk outward
- Weave lights deep along branch stems
- Use 100 mini lights per vertical foot
The Look and Technique:
Weaving light strands deep into the interior branches makes your tree glow with dimensional magic from the inside out.
Best Suited For:
All fresh and artificial Christmas trees.
Pro Stylist Tip:
Turn light strands on while hanging them so you can identify dark unlit spots instantly.
6. Add Ribbon Garland
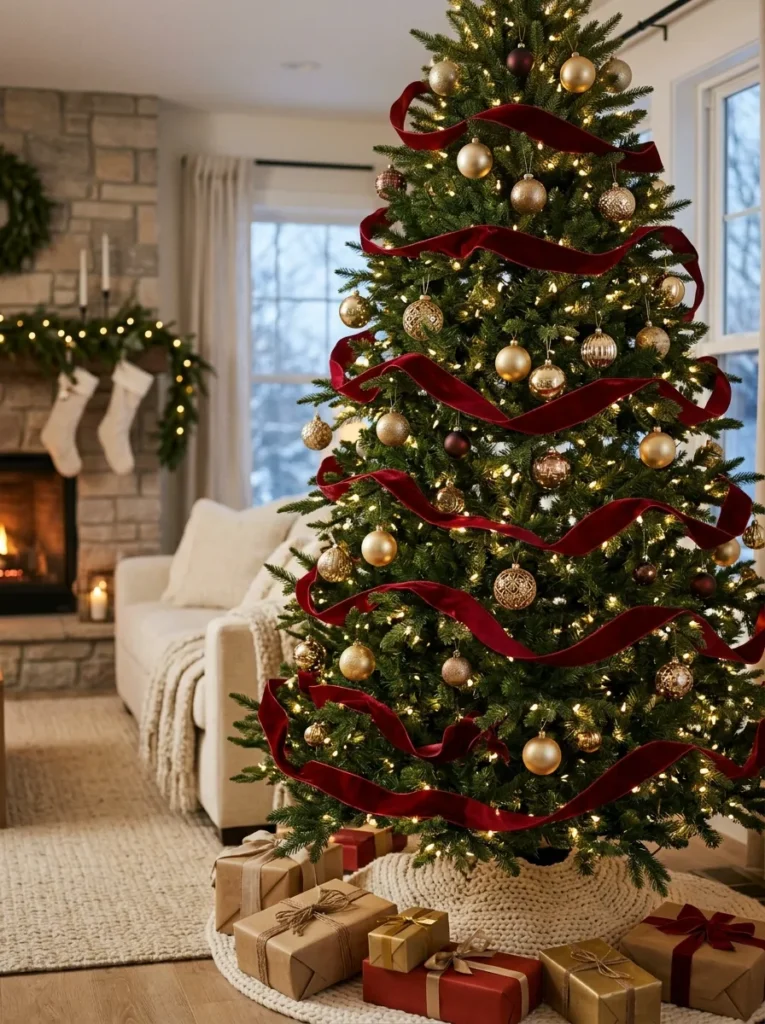
- Wide wired-edge designer ribbon
- Cascading vertical waterfall waves
- Tucked billowy branch loops
The Look and Technique:
Weaving wide wired ribbon through branches adds rich textural movement that fills visual voids between ornaments.
Best Suited For:
Mid-size to large Christmas trees.
Pro Stylist Tip:
Pinch and tuck ribbon into branch stems every twelve inches to create undulating billowy waves.
7. Hang Ornaments Largest

- Hang oversized baubles deep inside
- Cluster medium balls mid-branch
- Place delicate heirloom glass on tips
The Look and Technique:
Hanging large shatterproof spheres deep inside branches creates visual depth, reserving branch tips for delicate heirlooms.
Best Suited For:
Full Christmas tree decorating.
Pro Stylist Tip:
Fasten valuable glass ornaments with sturdy floral wire rather than flimsy wire S-hooks.
8. Place Star Topper
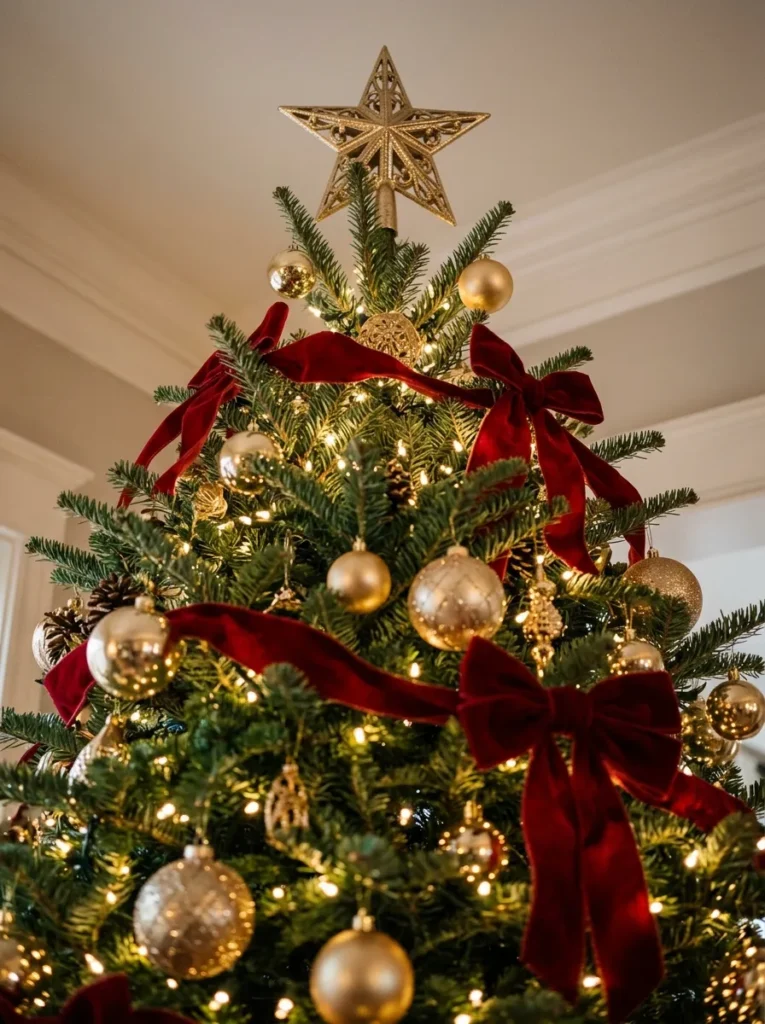
- Secure crowned tree topper
- Anchor with zip ties to leader stem
- Align straight with central trunk
The Look and Technique:
Crowning your finished evergreen with a glowing star or angel completes your tree with majestic holiday height.
Best Suited For:
Central tree crown leader branch.
Pro Stylist Tip:
Reinforce weak natural tree leaders by binding a sturdy wooden dowel rod alongside the branch.
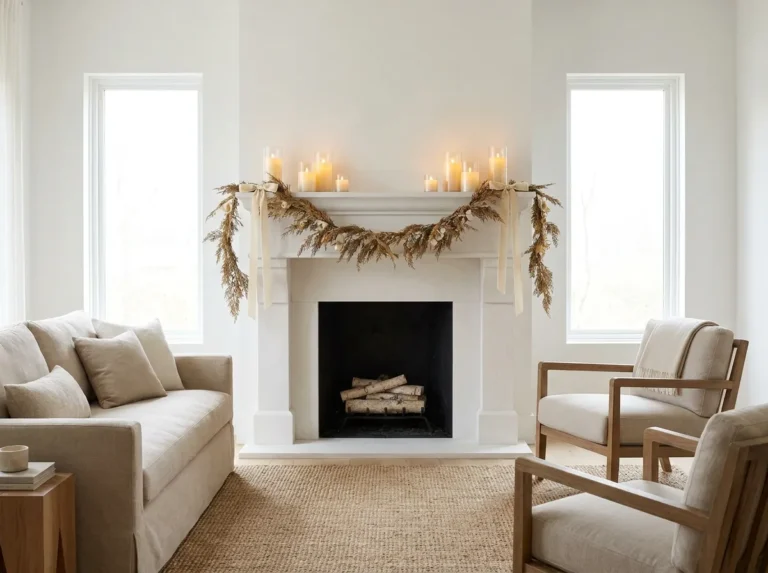
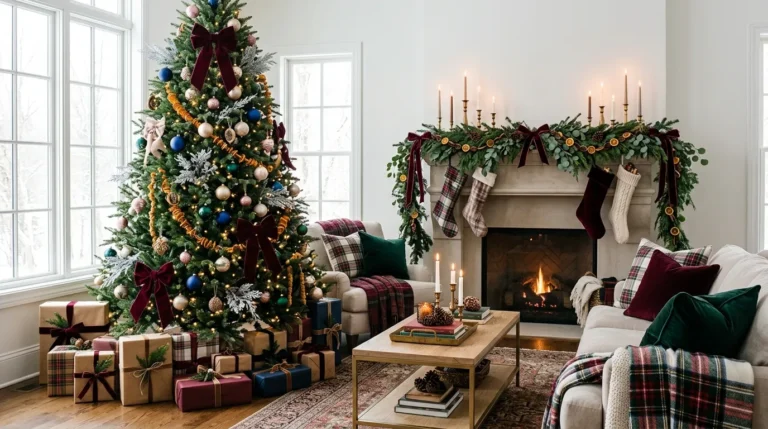
9. Dress Mantel Next
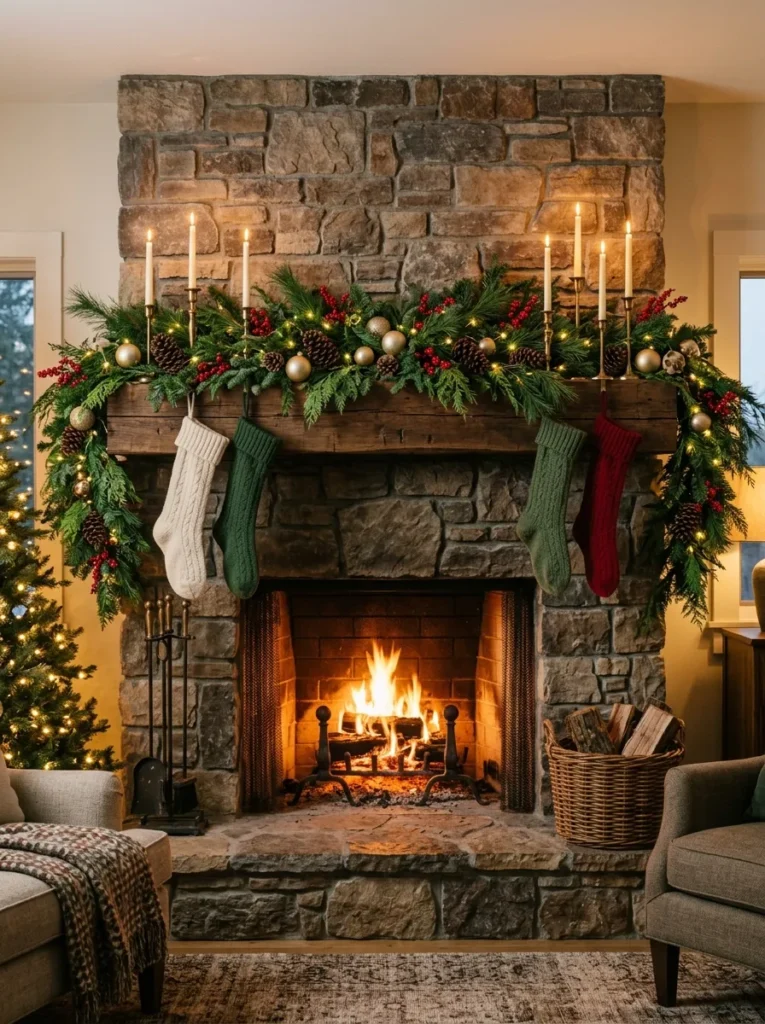
- Dense cedar and pine garland
- Tucked dried orange slices and cones
- Warm battery micro fairy lights
The Look and Technique:
Layering lush evergreen garland along fireplace mantels brings natural forest fragrance and cozy hearthside warmth.
Best Suited For:
Living room fireplace mantels and shelf ledges.
Pro Stylist Tip:
Anchor heavy garlands using weighted decorative mantel hooks to avoid drilling into stone or wood.
10. Attach Stockings Evenly
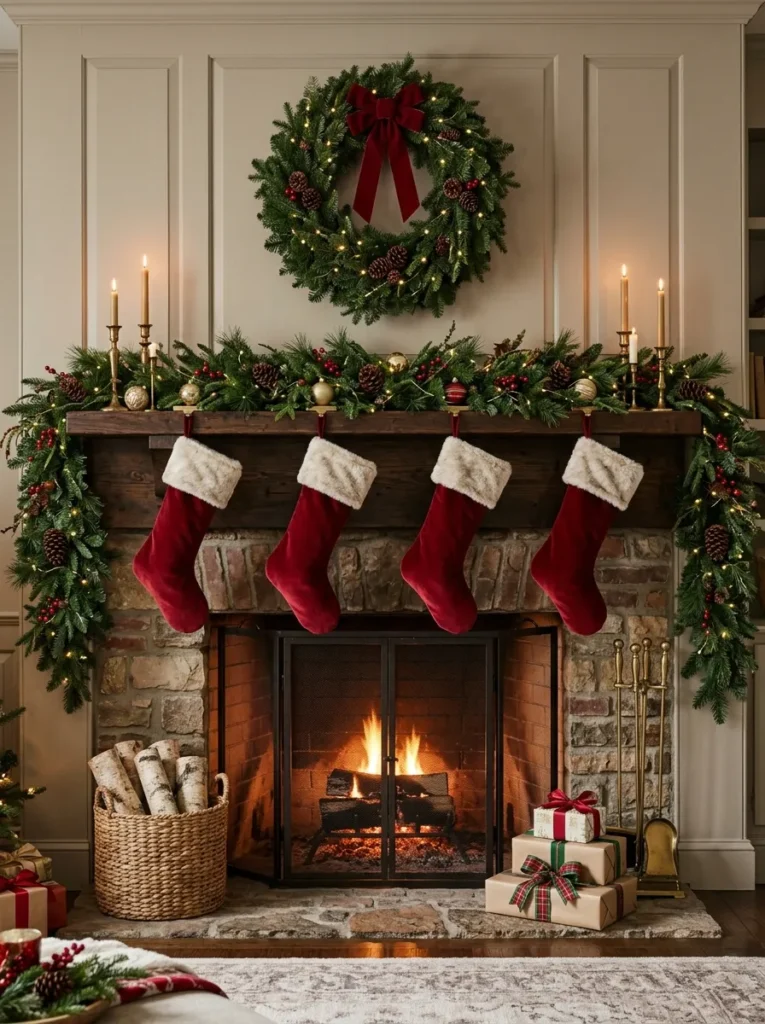
- Embroidered personalized knit stockings
- Evenly spaced mantel hanger anchors
- Stuff toes with tissue paper
The Look and Technique:
Hanging matching stockings evenly along fireplace mantels prepares your hearth for holiday morning traditions.
Best Suited For:
Fireplace mantels and stair banisters.
Pro Stylist Tip:
Stuff the toes of empty stockings with tissue paper so they hang with full, attractive shape all season.
11. Style Entryway Table
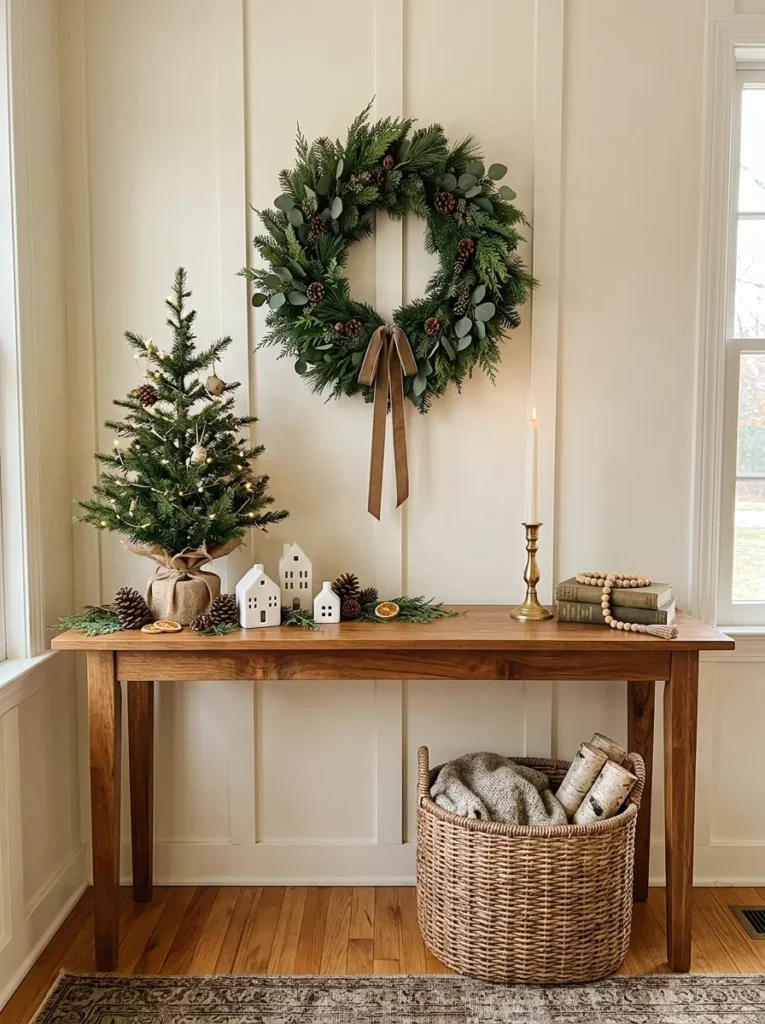
- Miniature evergreen topiary trees
- Bowl of shimmering glass ornaments
- Warm scented holiday candle glow
The Look and Technique:
Greeting arriving guests with a styled console table establishes festive holiday warmth the moment your front door opens.
Best Suited For:
Foyer consoles and hallway entry tables.
Pro Stylist Tip:
Place a small felt pad beneath decorative trays to protect polished tabletop finishes.
12. Swap Throw Pillows
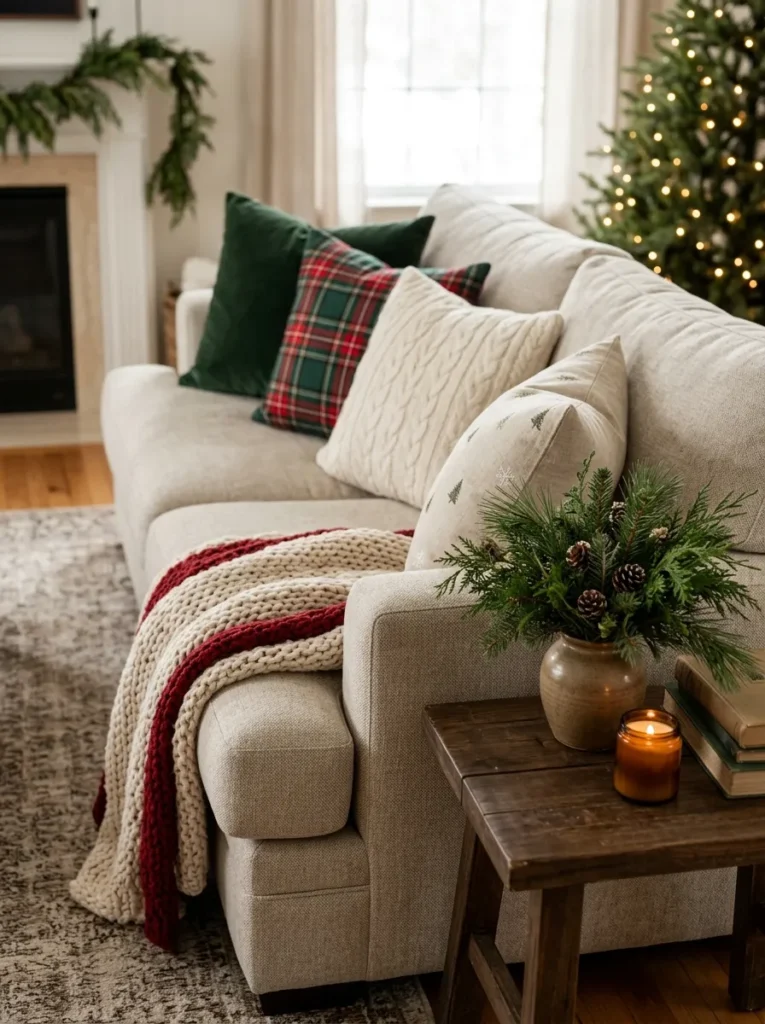
- Plush velvet and chunky knit covers
- Tartan plaid and seasonal motifs
- Down-blend full cushion inserts
The Look and Technique:
Swapping everyday couch pillows for rich tartan and velvet covers makes living rooms feel instantly cozier on chilly winter evenings.
Best Suited For:
Sofas, sectional couches, and armchairs.
Pro Stylist Tip:
Use pillow inserts two inches larger than covers to achieve plump, high-end designer loft.
13. Wreath Front Door
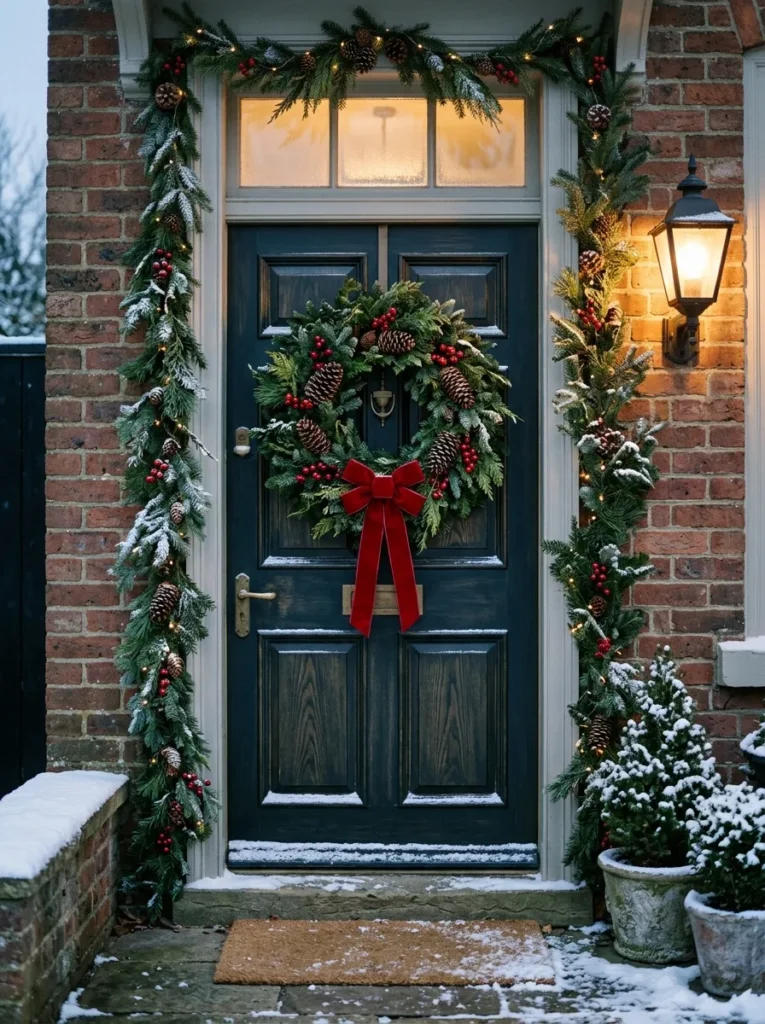
- Fragrant fresh or faux evergreen wreath
- Wired velvet bow center accent
- Protective felt-backed hanger hook
The Look and Technique:
Hanging a holiday wreath on your front door extends festive greetings to neighborhood visitors and arriving family.
Best Suited For:
Exterior front door and interior pantry doors.
Pro Stylist Tip:
Mist fresh evergreen wreaths with water every few days to keep needles supple and green.
14. Window Candles Glow
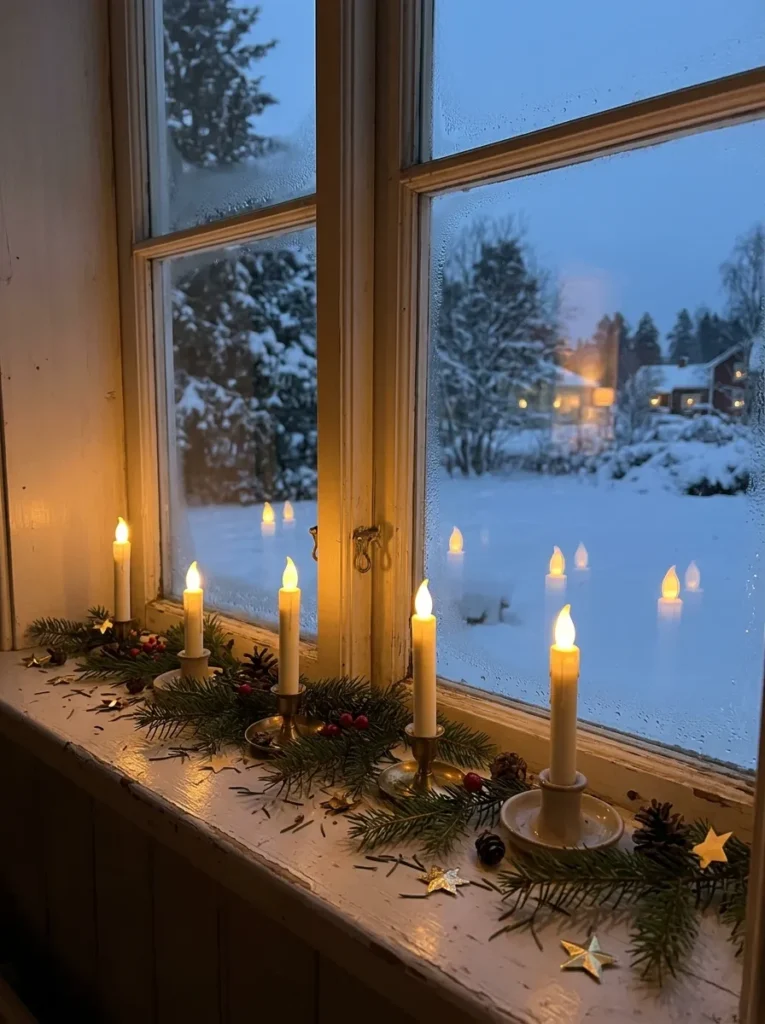
- Traditional electric brass windowsill candles
- Warm flicker LED filament bulbs
- Automatic dusk-to-dawn sensors
The Look and Technique:
Placing glowing electric candles in every front window projects welcoming colonial warmth to passing cars.
Best Suited For:
All front-facing exterior home windows.
Pro Stylist Tip:
Use clear suction cup cord clips to secure candle bases firmly to glass windowpanes.
15. Dining Centerpiece Last
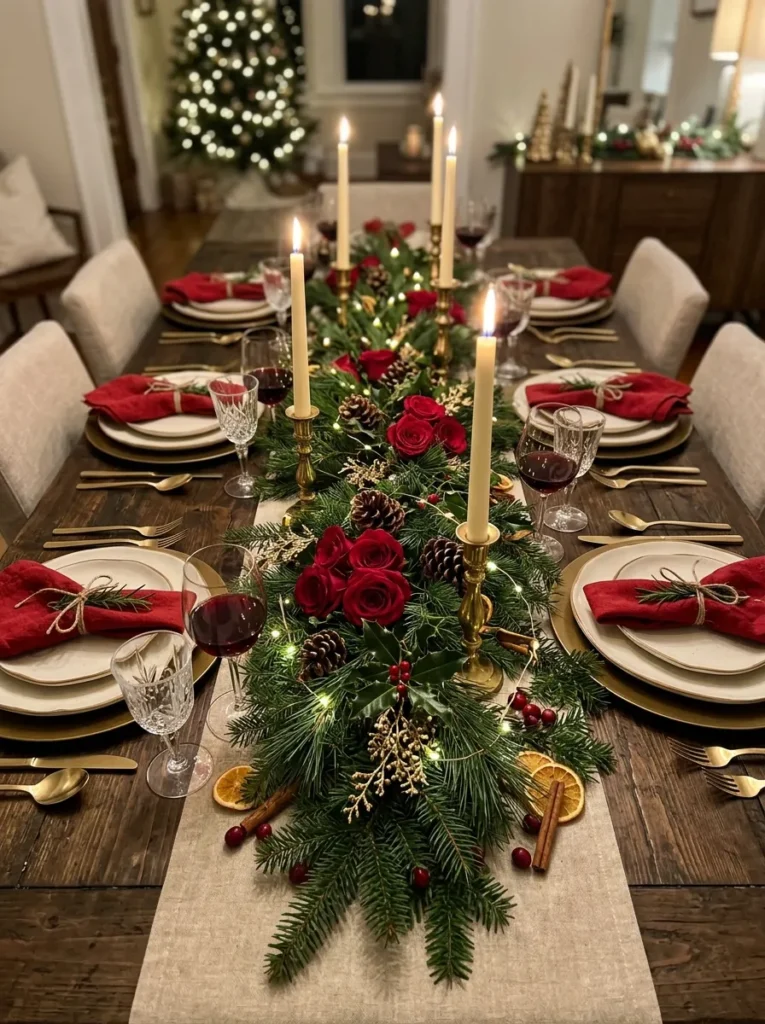
- Low-profile pine and eucalyptus runner
- Taper candles in brass candlesticks
- Pomegranates and seasonal pinecones
The Look and Technique:
Styling a low-profile centerpiece allows dinner guests to converse easily across festive candlelit holiday meals.
Best Suited For:
Dining room tables and breakfast banquettes.
Pro Stylist Tip:
Keep centerpiece heights under twelve inches so sightlines remain clear across the table.
16. Scent With Pine
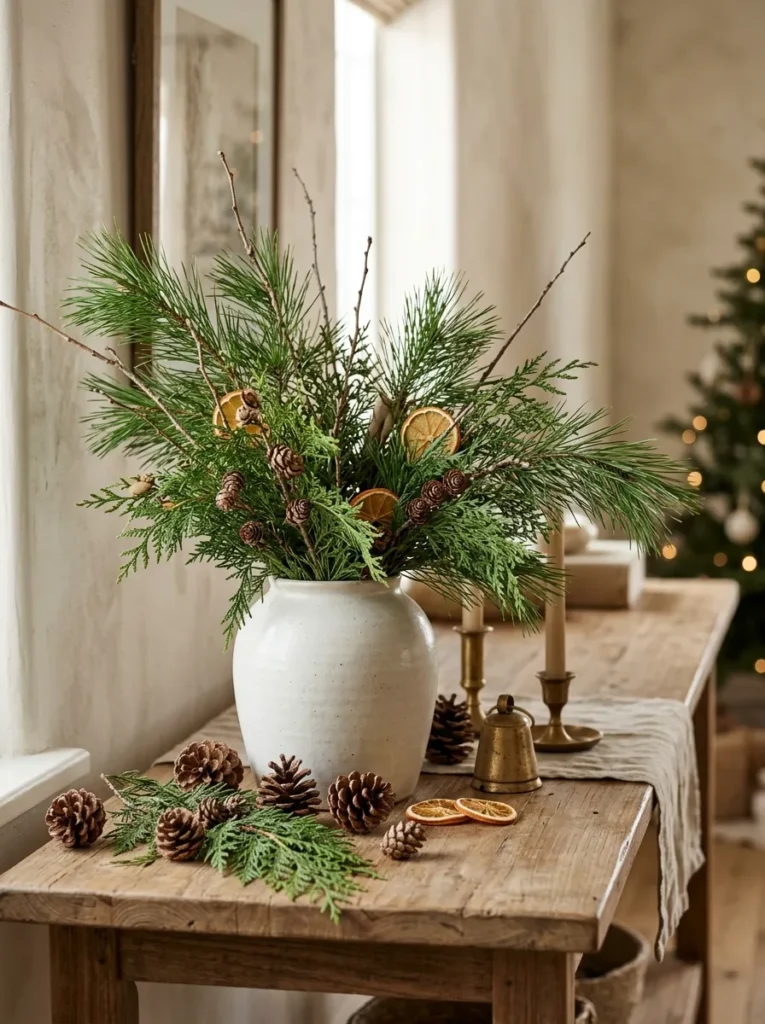
- Simmer pot with cinnamon and orange
- Pure pine and balsam essential oils
- Natural beeswax candle warmth
The Look and Technique:
Infusing your home with authentic aromas of pine, cinnamon, and spiced clove completes the festive sensory experience.
Best Suited For:
Kitchen stovetops, living rooms, and entries.
Pro Stylist Tip:
Simmer sliced oranges, cranberries, cinnamon sticks, and rosemary sprigs in water on low heat.
17. Arrange Village Display
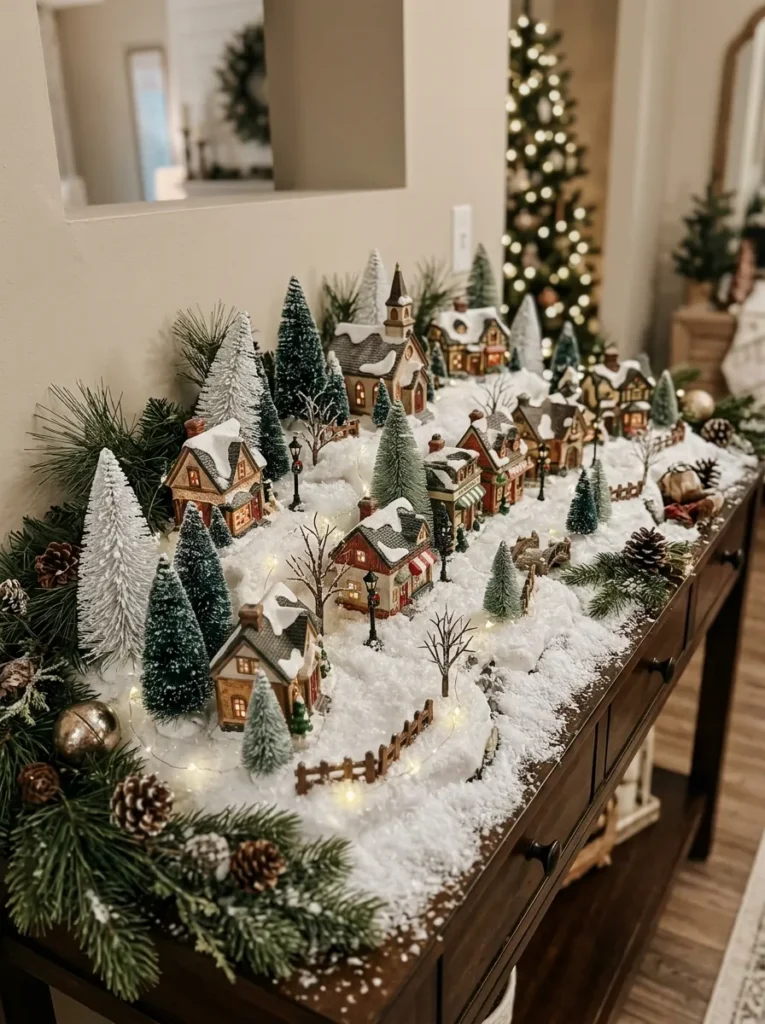
- Ceramic lighted holiday houses
- Soft white cotton snow batting
- Tucked miniature bottle brush trees
The Look and Technique:
Arranging a nostalgic illuminated holiday village on a sideboard delights children with storybook winter enchantment.
Best Suited For:
Buffets, credenzas, and bookshelf tops.
Pro Stylist Tip:
Conceal village electrical cords and power strips beneath fluffy polyester snow batting.
18. Final Walkthrough Check
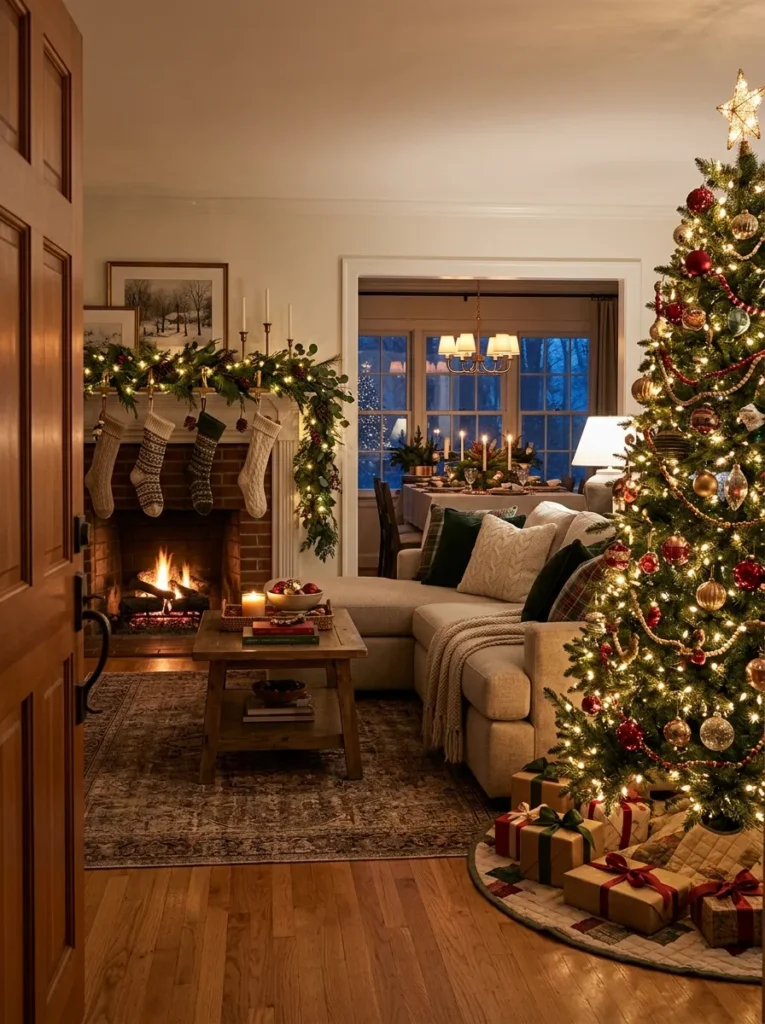
- Dim main overhead room lighting
- Verify all timers activate properly
- Adjust ornament branch sightlines
The Look and Technique:
Stepping back to inspect your home under evening lighting ensures balanced glow, hidden cords, and effortless holiday harmony.
Best Suited For:
Entire decorated home living space.
Pro Stylist Tip:
View each decorated room from primary seating positions to verify sightlines are balanced and clutter-free.
Comprehensive Pro Styling and Maintenance Guide
Executing high-impact styling demands understanding scale, structural safety, and durability. Consult this material and placement matrix before outfitting your space.
| Decorating Phase | Key Elements | Strategic Purpose | Primary Room Zone | Execution Order |
|---|---|---|---|---|
| Declutter & Palette | Storage Totes & Swatches | Preparation | Living & Dining Spaces | First Step |
| Christmas Tree Setup | Stand, Lights & Baubles | Primary Focal Anchor | Living Room Center | Foundation |
| Mantel & Hearth | Garlands & Stockings | Secondary Focal Point | Fireplace Mantels | Early Stage |
| Textile Swap | Pillows & Wool Throws | Cozy Ambience | Living Room Seating | Mid Stage |
| Scent & Final Polish | Simmer Pots & Timers | Sensory Completion | Whole House Interior | Final Step |
Room-by-Room Christmas Decorating Order of Operations
- Surface Clearing: Clear everyday clutter completely before unpacking holiday bins to avoid visual overload.
- Lighting First: Test and hang all tree and garland lights before hanging ornaments or ribbon.
- Scale Progression: Place largest ornaments deep inside trees first, layering smaller delicate glass accents last.
- Safety Spacing: Keep fresh greenery and candles at least three feet away from open fireplace flames and space heaters.
- Automated Timers: Group indoor lights onto smart plugs to turn displays on at sunset and off at bedtime automatically.
Frequently Asked Questions
What is the best order of steps to decorate a home for Christmas?
Declutter everyday decor first, establish your color palette, decorate the tree, dress the mantel and staircase, swap textiles, and finish with dining centerpieces and scents.
How many lights do I need for a 7.5-foot Christmas tree?
A good rule of thumb is 100 mini lights per vertical foot. For a lush, professional glow on a 7.5-foot tree, use 750 to 1,000 lights.
How do I keep fresh mantel garland from drying out and dropping needles?
Soak fresh garland stems in water for an hour before hanging, spritz branches with water every two days, and keep it away from active heat vents.
What is the trick to making an artificial Christmas tree look full?
Spend time fluffing each branch tip, starting from the back trunk outward. Weaving wide wired ribbon and hanging large ornaments deep inside also fills gaps.
How do I create a cohesive Christmas look throughout my home?
Stick to a consistent three-color palette across rooms, repeat one greenery type (such as cedar or pine), and use matching warm-white 2700K lighting everywhere.
Final Editorial Verdict and Styling Recommendation
Approaching holiday decorating step by step eliminates clutter stress and makes creating a festive home a joyful experience. When every room flows naturally, your home feels warm, welcoming, and magical.
Follow a clear decorating sequence, automate your evening lighting, and enjoy the cozy beauty of the holiday season surrounded by family.
Visit nashradecor for more details.