22 Easy Halloween Decor You Can Make At Home On Budget
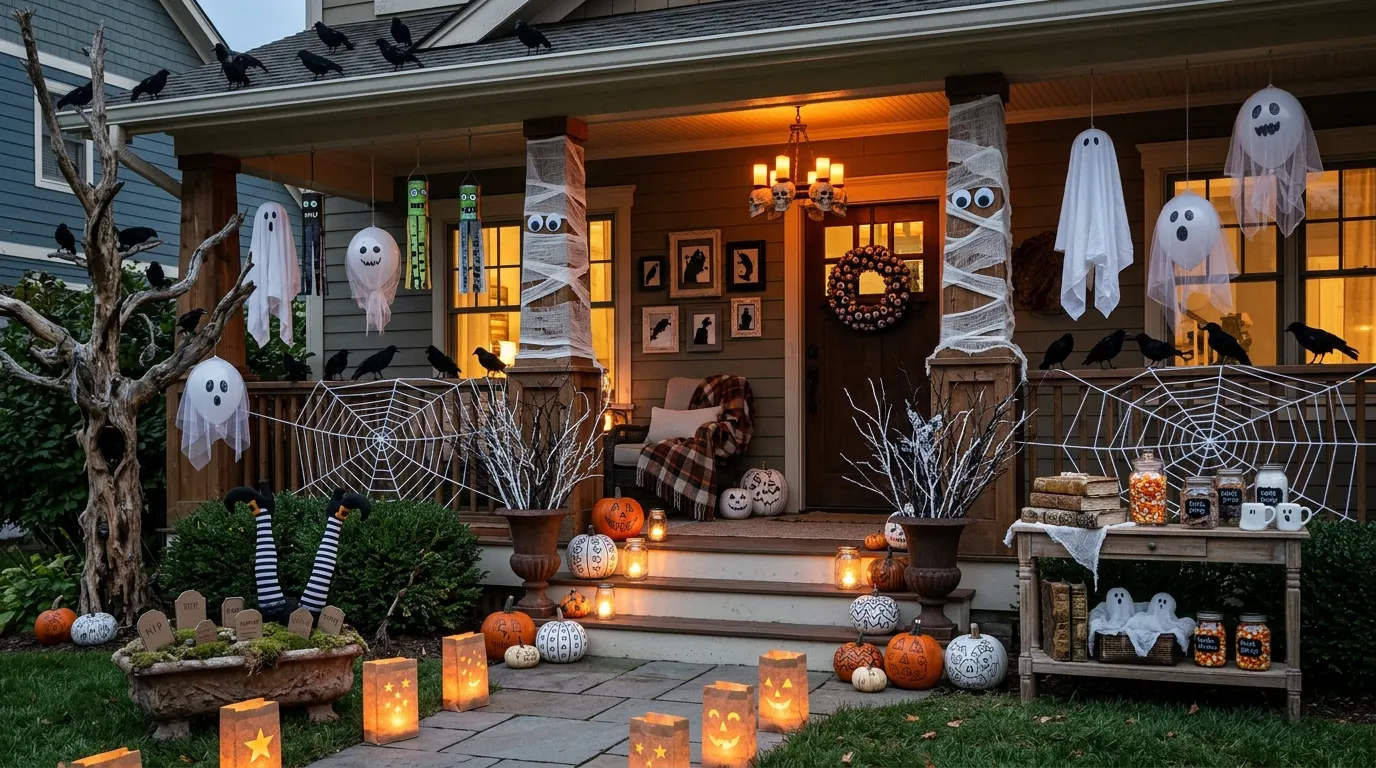
You do not need to spend a lot to make your home feel spooky. Some of the best Halloween decor starts with things you already have, like old sheets, paper bags, mason jars, and leftover paint. These easy Halloween decor projects turn everyday items into charming pieces that look far more expensive than they are.
Each idea uses simple supplies and takes under an hour, so you can finish several in a single weekend. Many of them are also kid friendly, which makes them perfect for crafting together. If you want to save money and still get a handmade, personal look, you are in the right place.
Below you will find quick tips, materials, and a short guide for each project. Start with two or three that match your space, and add more as you gather supplies.
Easy Halloween Decor Ideas
1. Paper Bag Luminaries
- Cut shapes into brown bags
- Add sand for weight
- Battery tealights only, never flame
- Line walkway or steps
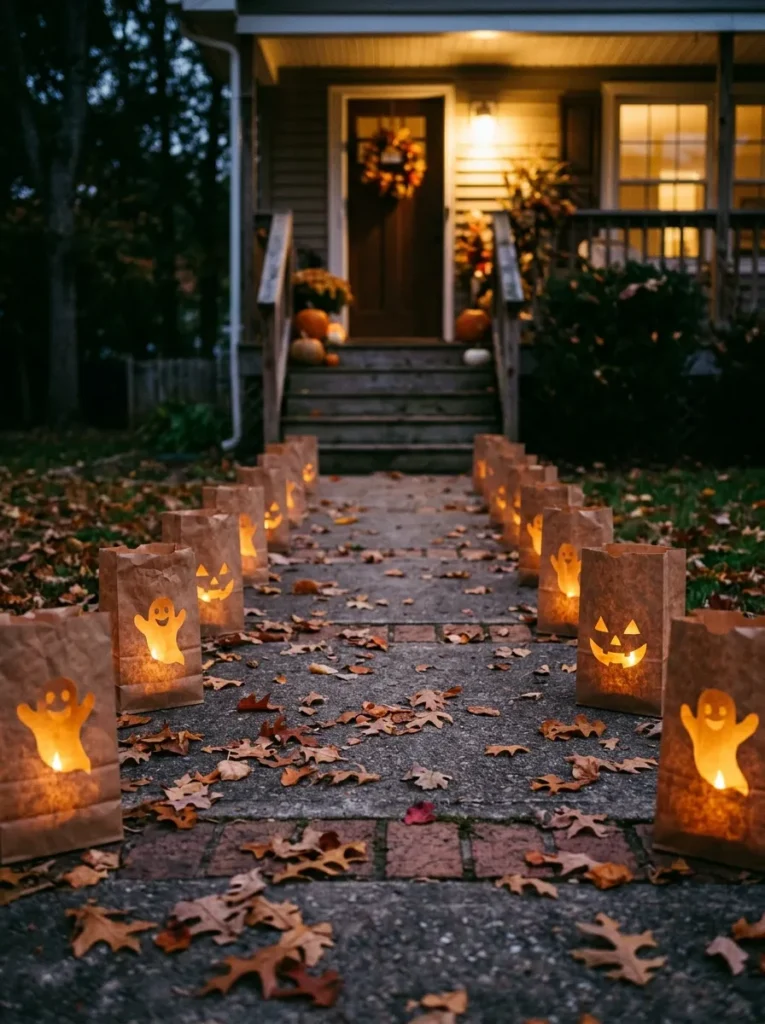
Paper bag luminaries are one of the cheapest ways to light a porch or walkway. Cut bat, moon, or pumpkin shapes into the sides of brown lunch bags, then add a few spoonfuls of sand to keep them steady. Drop a battery tealight inside each bag. Never use real candles, since paper catches fire quickly.
2. Trash Bag Spiderwebs
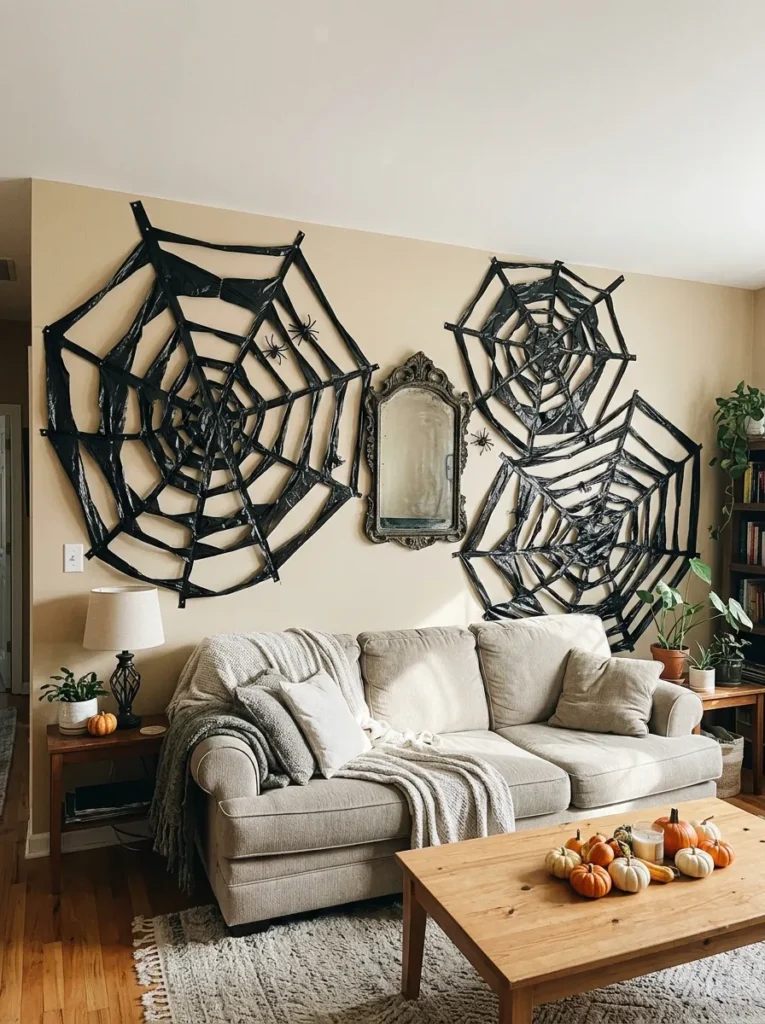
- Cut black bags into spirals
- Stretch across window frames
- Costs pennies per web
- Tape corners down firmly
A giant spiderweb made from a trash bag looks bold from the street. Cut a black bag into a long spiral strip, then cut short cross strips and tape them across a window or door frame in a web pattern. Pull the plastic slightly so it looks stretched. Use painter’s tape so the paint comes off cleanly when the season ends.
3. Mummy Porch Columns
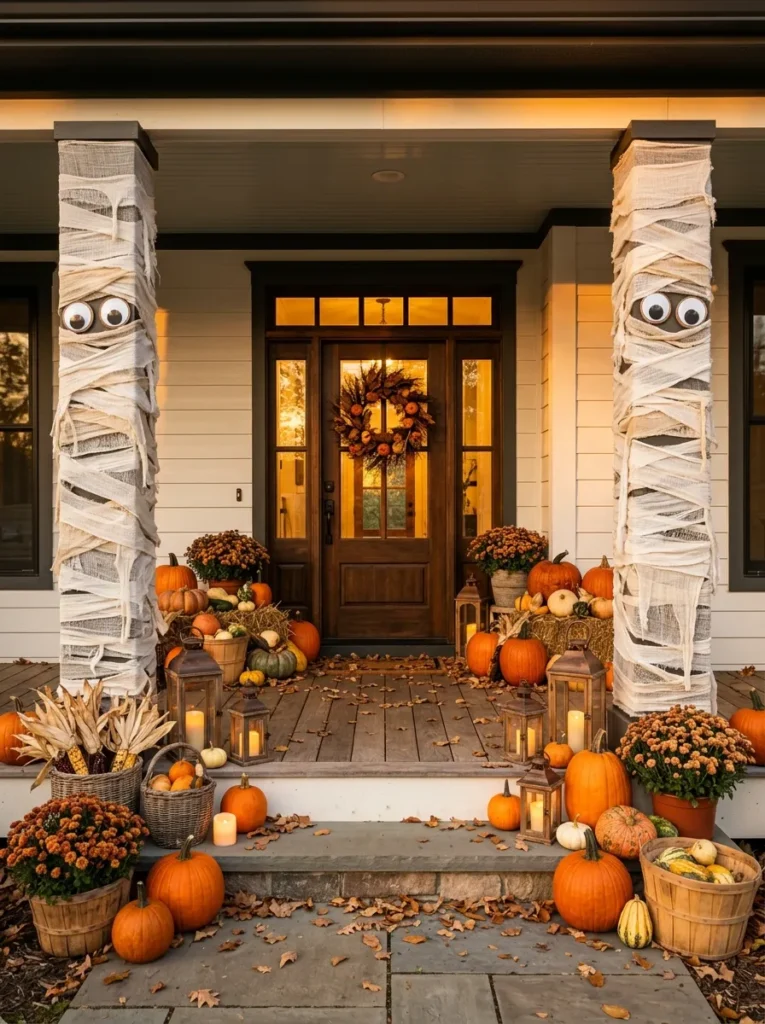
- Wrap porch posts with gauze
- Use toilet paper or cheesecloth
- Add googly eyes peeking
- Staple at back, hide seams
Turn plain porch posts into mummies with strips of cheesecloth or gauze. Wrap each post in uneven layers and leave a small gap near the top for a pair of large googly eyes. Staple or tape the ends at the back so the seams stay hidden. Toilet paper works for a one night party, but cloth survives rain far better.
4. Sheet Ghost Hanging
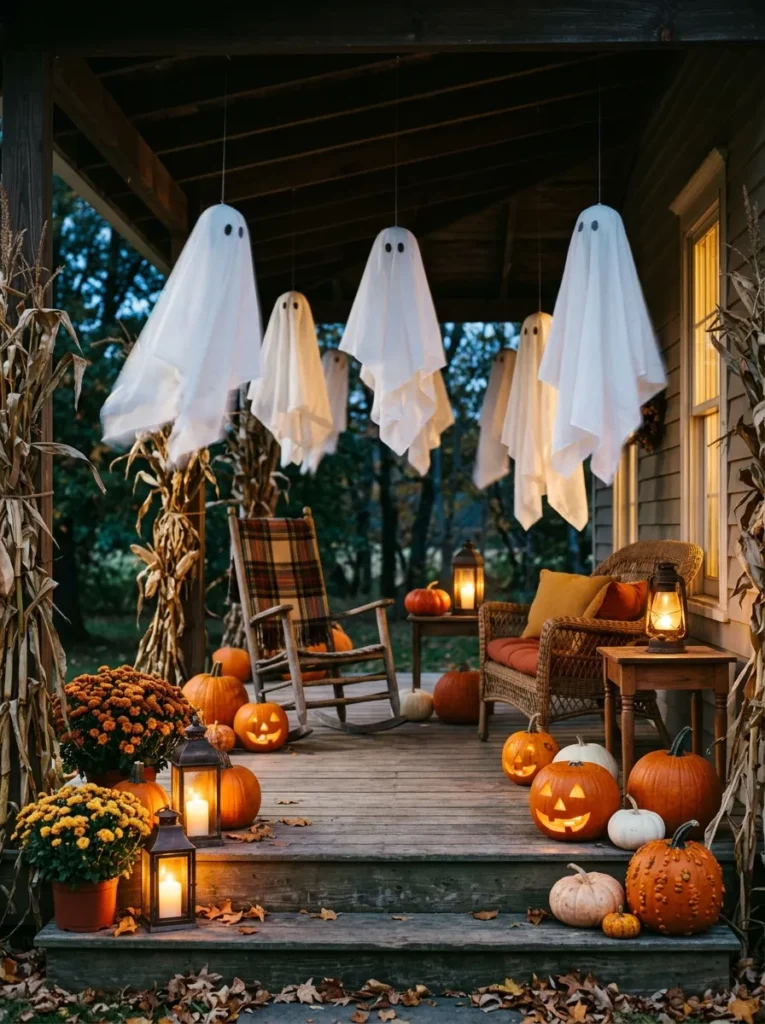
- Drape old white sheet
- Stuff head with newspaper balls
- Hang from tree branch
- Cut eyes with scissors
An old white sheet becomes a floating ghost in minutes. Crumple newspaper into a ball, set it in the center of the sheet, and tie a string under it to form the head. Hang the ghost from a branch or porch hook so the fabric flows in the breeze. Cut two oval eyes or draw them with a black marker.
5. Balloon Ghost Trio
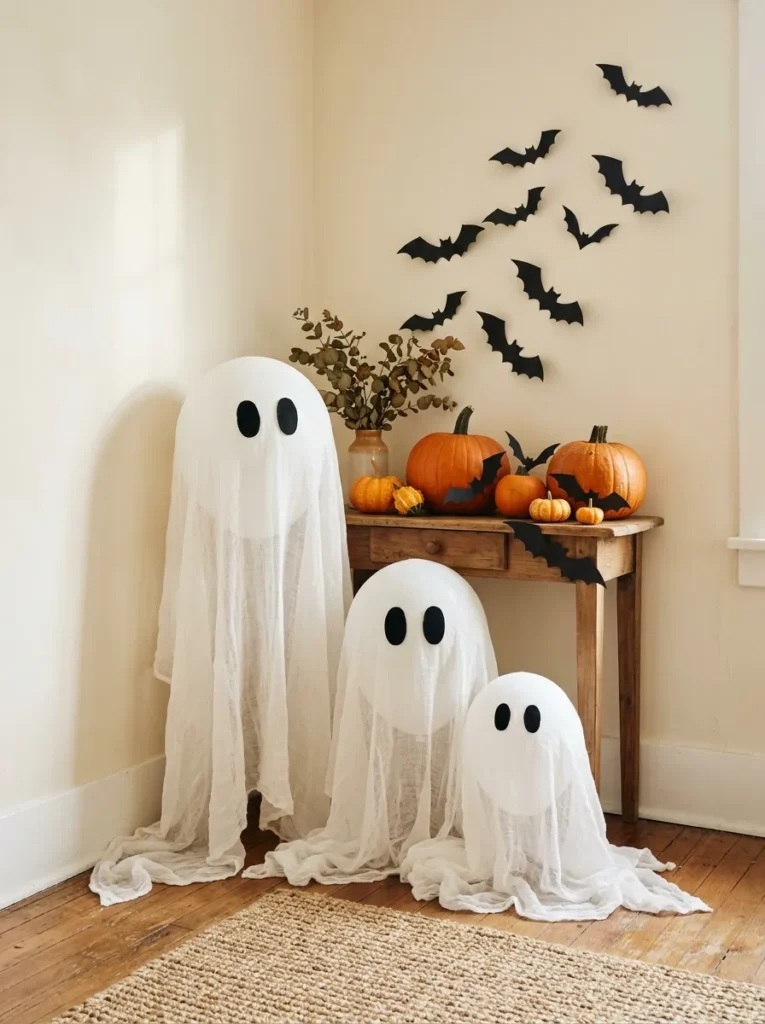
- Cover balloons in white cloth
- Starch makes fabric stiff
- Draw faces with marker
- Group three in corner
Balloon ghosts look sculpted but are made from fabric and starch. Blow up a balloon, dip cheesecloth in liquid starch, drape it over the balloon, and let it dry fully. Pop the balloon once the cloth is stiff, and the ghost keeps its shape. Group three at different heights on a table or in a corner for the best effect.
6. Black White Branches
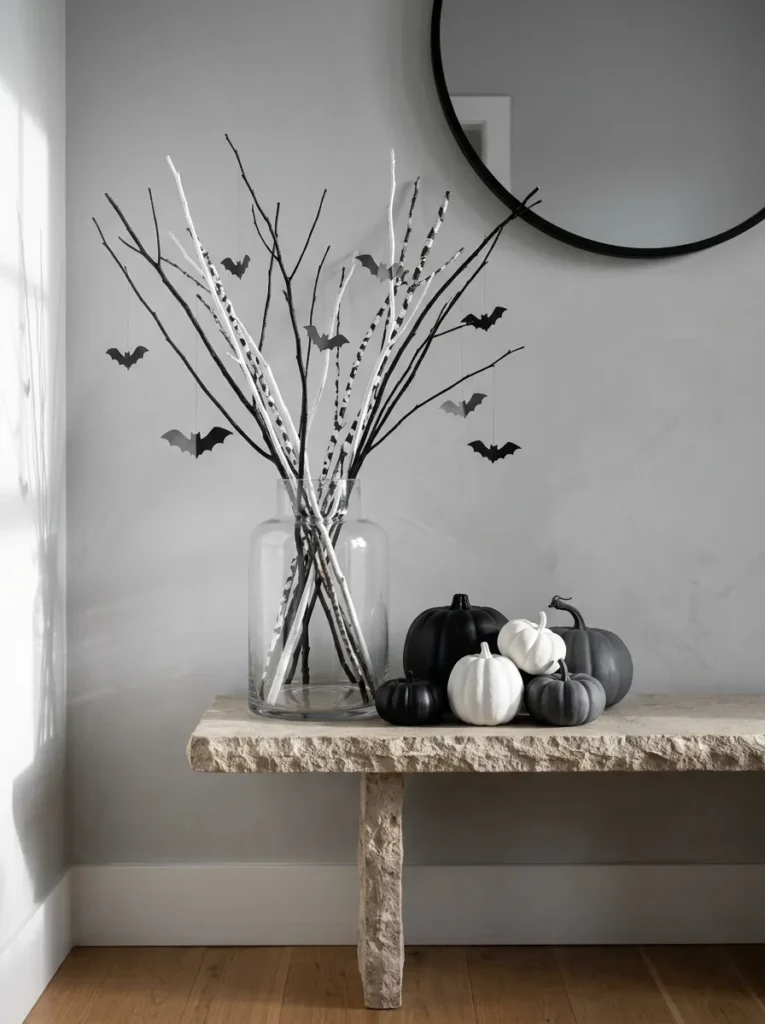
- Collect fallen backyard branches
- Paint half black, half white
- Fill tall vase with them
- Hang tiny ornaments from them
Branches from your yard make dramatic free decor. Paint some black and some white with spray paint or craft paint, and let them dry completely. Place them in a tall vase and hang small paper bats or tiny ghost ornaments from the tips. The mix of black and white feels modern and graphic.
7. Candy Corn Jar Filler
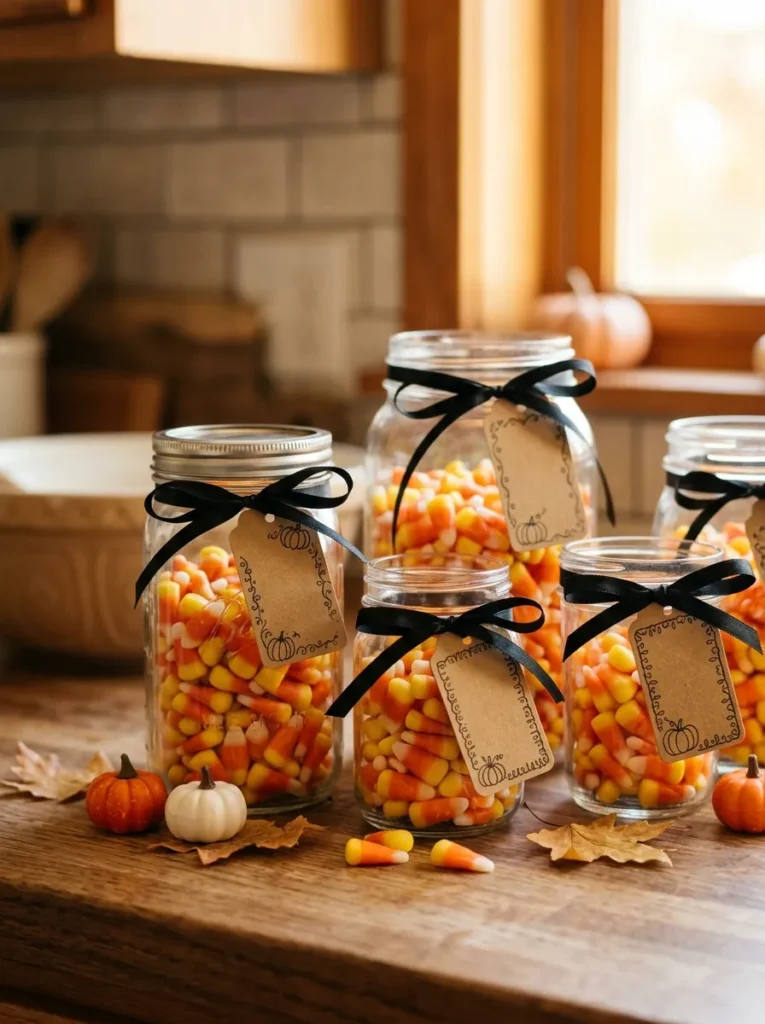
- Layer candy in clear jar
- Orange, yellow, white stripes
- Tie ribbon around neck
- Great as party gift
A jar of candy corn is a sweet, budget friendly decoration that also doubles as a party favor. Layer candy in stripes of orange, yellow, and white, tapping the jar gently so the layers settle evenly. Tie a ribbon around the neck and add a tag with a short message. Use any clean jar you have on hand.
8. DIY Spellbook Stack
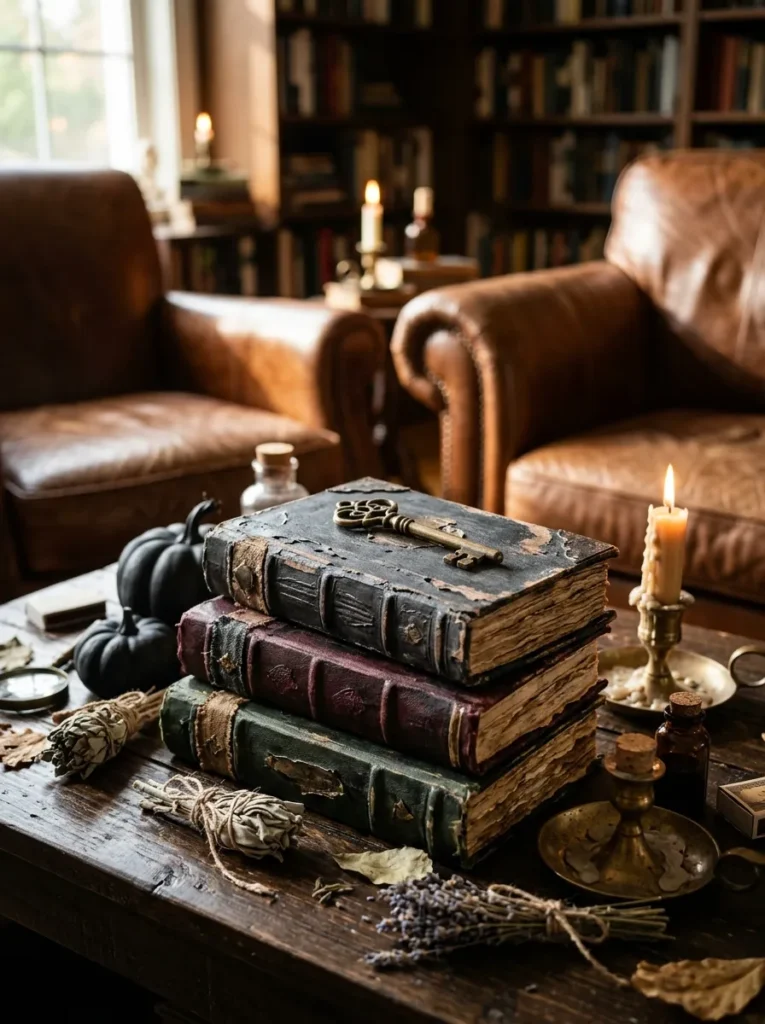
- Wrap thrifted books in kraft
- Paint spines with gold
- Stack three on shelf
- Print spooky titles at home
A stack of spellbooks is easy to build from thrifted hardcovers. Wrap each book in kraft paper or a brown paper bag, add a handwritten or printed title like “Potions” or “Midnight Charms,” and paint thin gold lines on the spine. Stack them with the largest at the bottom. Add a small candle or bottle on top for extra detail.
9. Ghost Decal Mugs
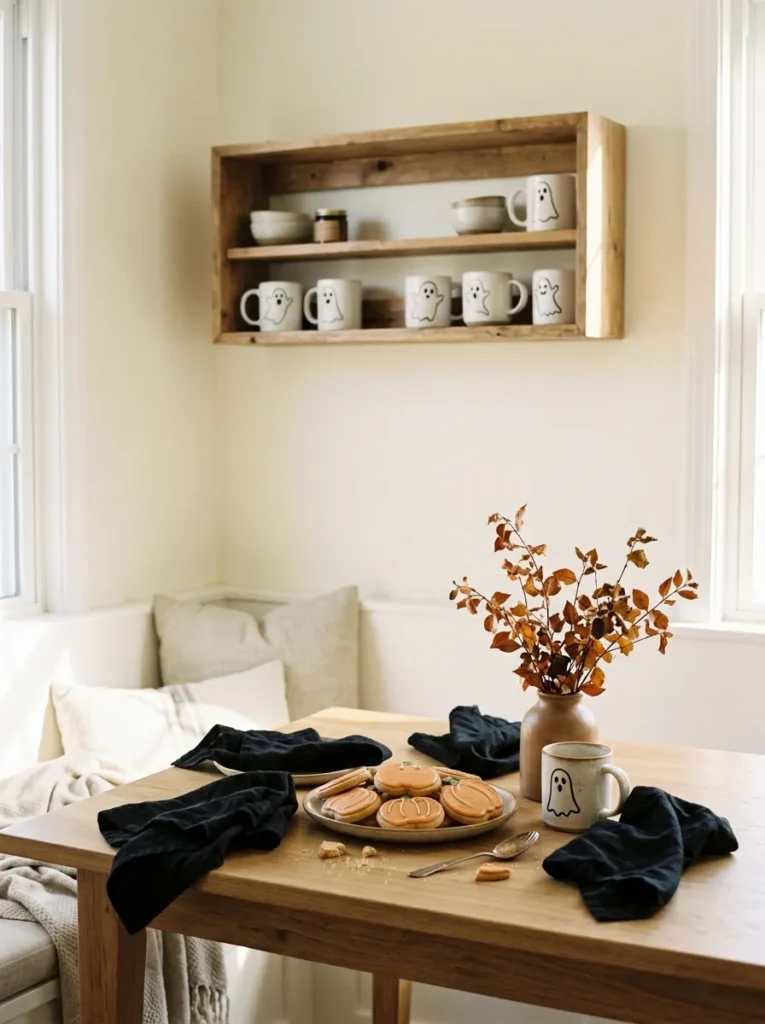
- Draw ghosts with oil marker
- Bake to set design
- Plain dollar store mugs
- Hand wash to preserve
Plain dollar store mugs become festive with a simple ghost design. Use an oil based paint marker to draw a ghost face on a white mug, let it dry, then bake it in the oven following the marker’s instructions to set it. They make nice gifts for neighbors or teachers. Hand wash them so the design lasts longer.
10. Googly Eye Wreath
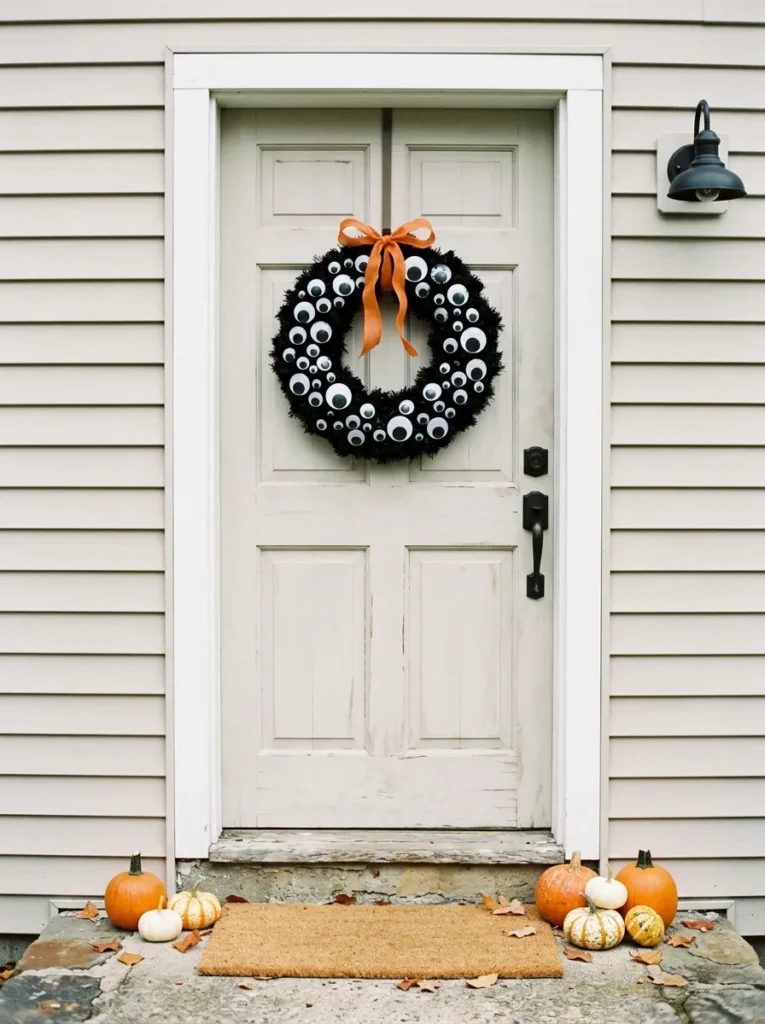
- Glue eyes onto foam wreath
- Mix sizes for silly look
- Paint wreath black first
- Hang on door
This wreath is silly, cheap, and surprisingly eye catching. Paint a foam wreath black, let it dry, and glue googly eyes in a mix of sizes all over the surface. Overlap some eyes so it looks like something is watching from the dark. Hang it on the door with a ribbon or over the door hook.
11. Cheesecloth Ghost Figures
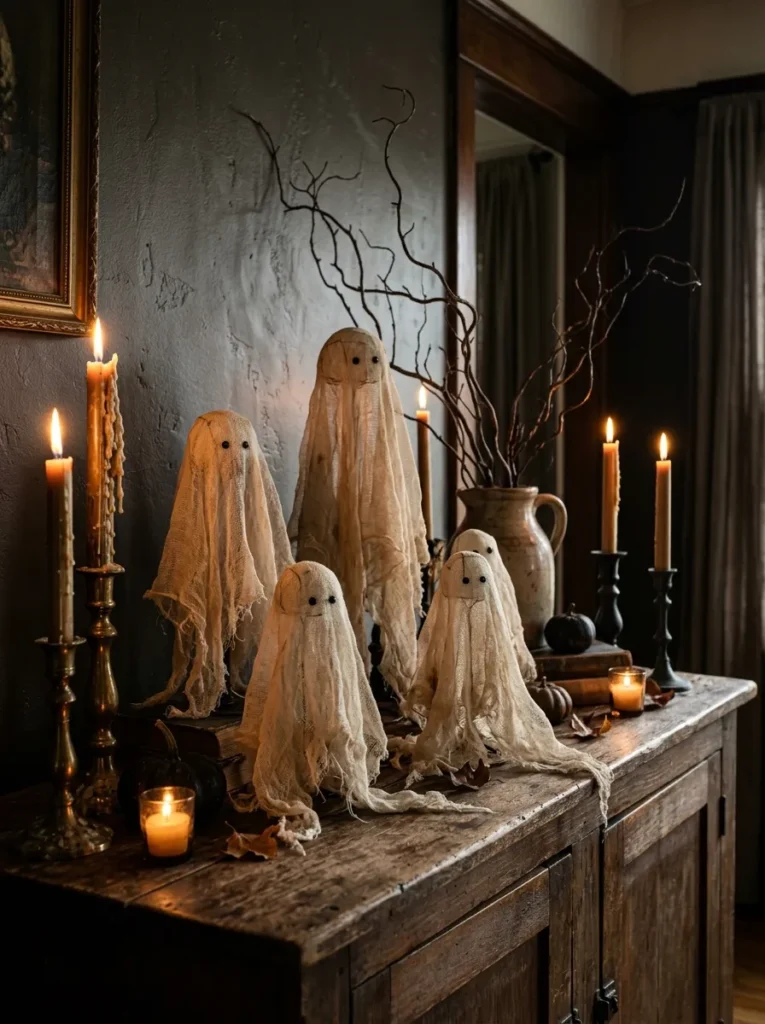
- Soak cheesecloth in glue mixture
- Drape over bottle form
- Let dry fully overnight
- Remove bottle, keep shape
Cheesecloth ghosts have a floaty, vintage look. Mix white glue with a little water, soak the cheesecloth, then drape it over a bottle or a foil covered form. Let it dry overnight until stiff, then lift the form out and add eyes with a marker. They look lovely on a mantel or entry table and store flat when flattened gently.
12. Witch’s Pantry Jars
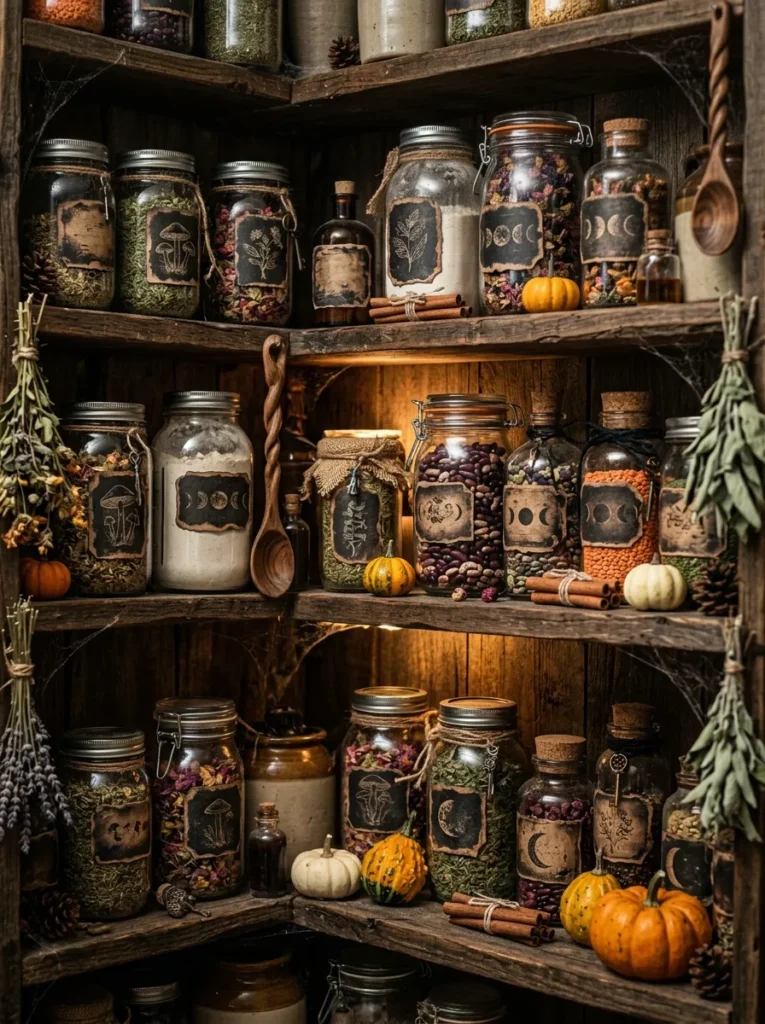
- Reuse old pasta sauce jars
- Fill with twigs, dried leaves
- Add handwritten potion labels
- Tea stain paper for age
Old sauce and jam jars make perfect witchy pantry decor. Remove the labels, wash the jars, and fill them with twigs, dried leaves, or cotton balls for a “cobweb” look. Write funny labels like “Dragon Scales” or “Moon Dust” on tea stained paper and tie them on with string. Display them on a shelf or kitchen counter.
13. Ghost Bath Mat
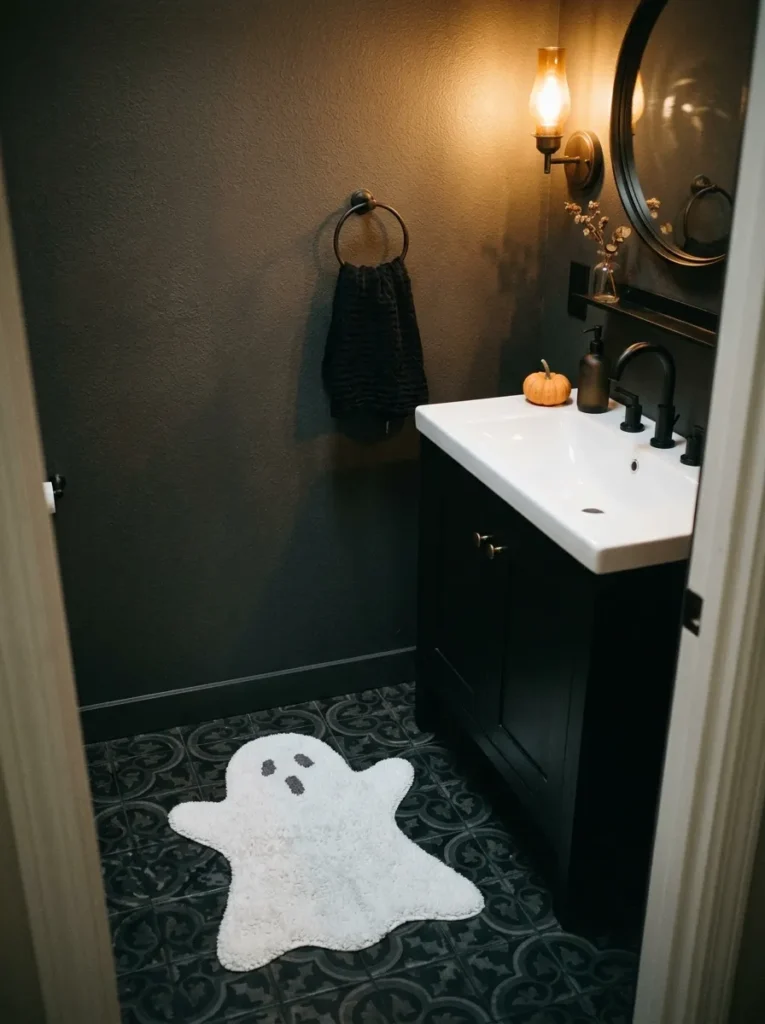
- Cut shape from white bath mat
- Stitch black eyes with felt
- Place by tub or sink
- Non slip pad underneath
A ghost shaped mat brings Halloween into the bathroom. Cut a ghost outline from an inexpensive white bath mat or fabric, then glue on black felt eyes and a mouth. Put a non slip pad underneath so no one slides on the floor. It is also machine washable, so it handles daily use.
14. Mason Jar Lanterns
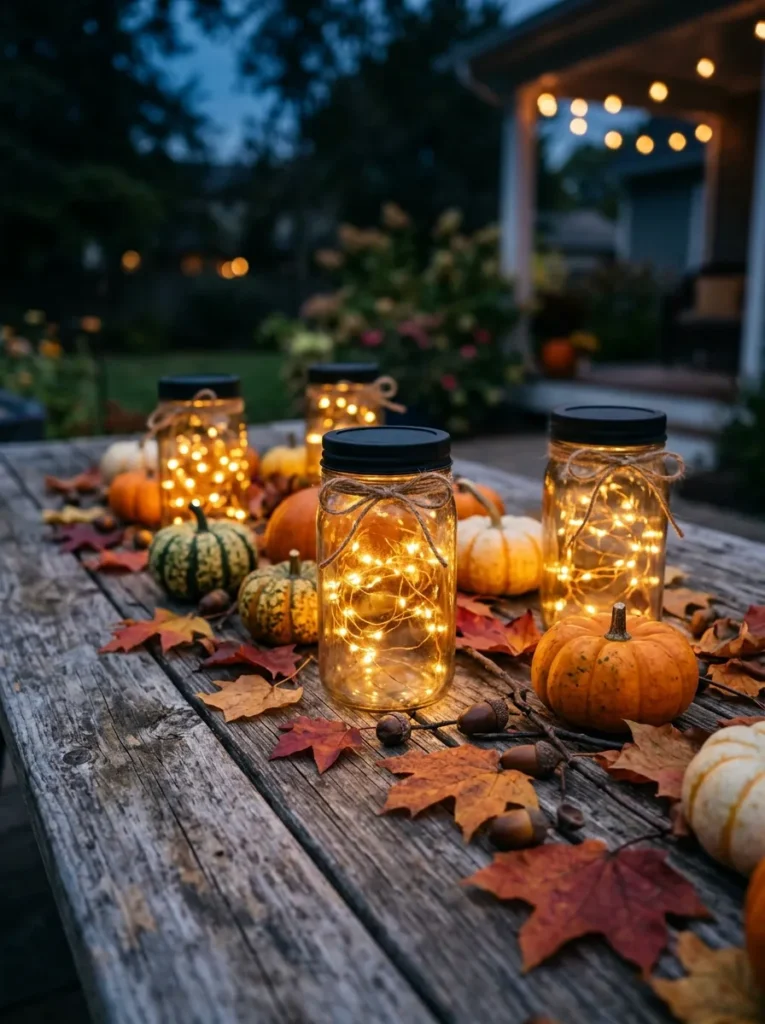
- Tissue paper glued on jars
- Cut face shapes from black
- Add battery tea light
- Group on porch steps
Mason jar lanterns glow softly and cost almost nothing. Coat a jar with a thin layer of glue, cover it in orange or white tissue paper, and stick on black paper eyes and a mouth. Place a battery tealight inside once the glue dries. Group several together on the porch steps or a table.
15. Tin Can Windsock
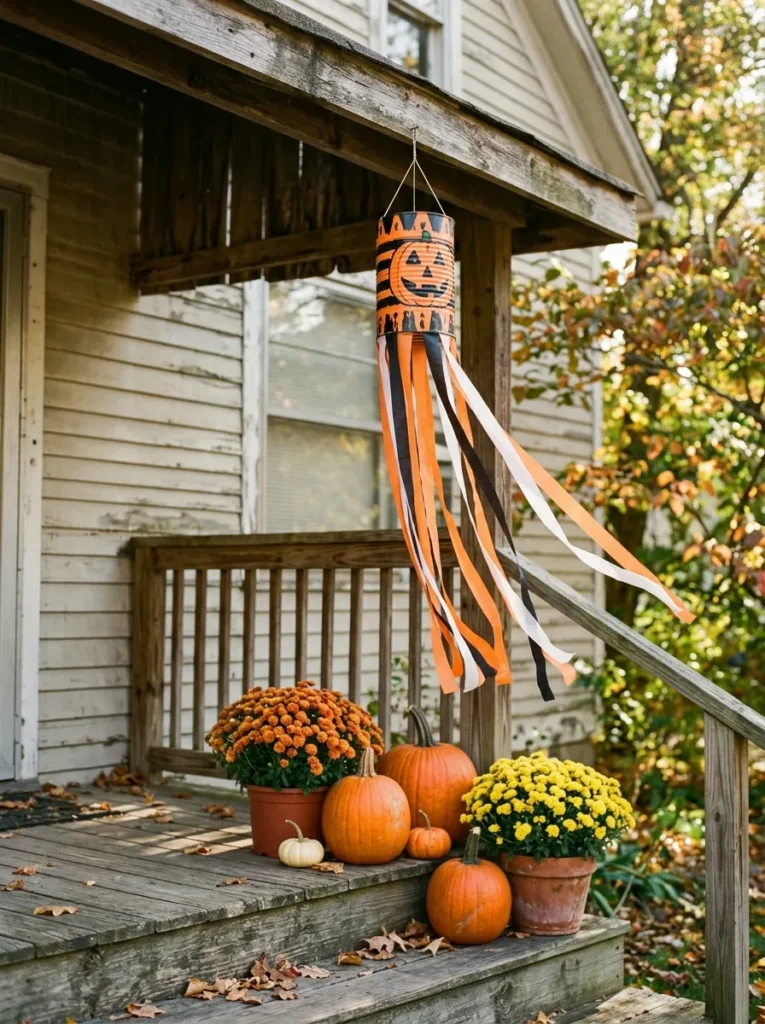
- Paint recycled cans orange
- Hang streamers from bottom
- String twine from top
- Moves nicely in breeze
Empty tin cans can be turned into pumpkin windsocks. Remove both ends of the can and sand any sharp edges, then paint it orange and add a black face. Tape or staple crepe paper streamers to the bottom and attach twine to the top. Hang it from a porch hook where the breeze can move the streamers.
16. Sinister Dead Tree

- Use large branch in bucket
- Secure with plaster or stones
- Spray paint matte black
- Hang bats and lights
A dead tree makes a dramatic entry statement. Place a large branch with plenty of forks into a bucket, and fill the bucket with stones or quick setting plaster so it stands upright. Spray the branch matte black and hang paper bats, ornaments, or a string of lights. Keep it in a corner where it will not get knocked over.
17. Mini Graveyard Planter
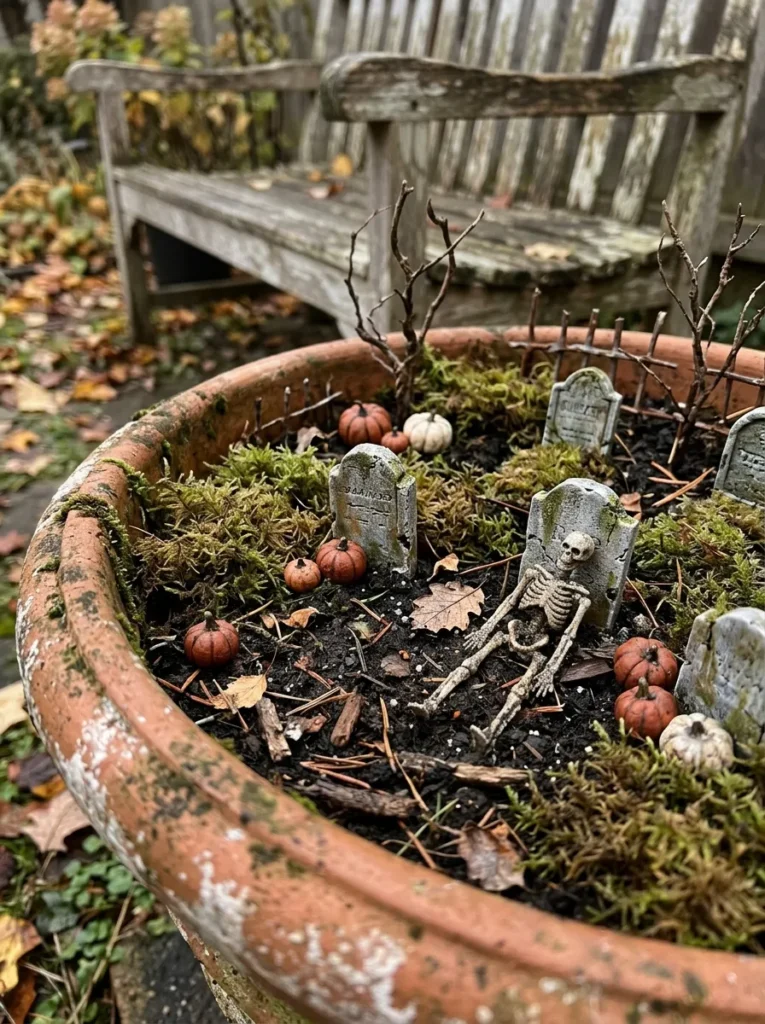
- Reuse old planter box
- Cut tombstones from foam
- Cover soil with moss
- Add tiny bone details
A graveyard planter turns an old pot or window box into a tiny scene. Cut foam tombstones in different sizes and write short epitaphs with a paint pen. Press them into the soil and cover the top with moss or dry leaves. Add a few small bones or a tiny crow to finish. It fits easily on a porch or table.
18. Sharpie Pumpkin Faces
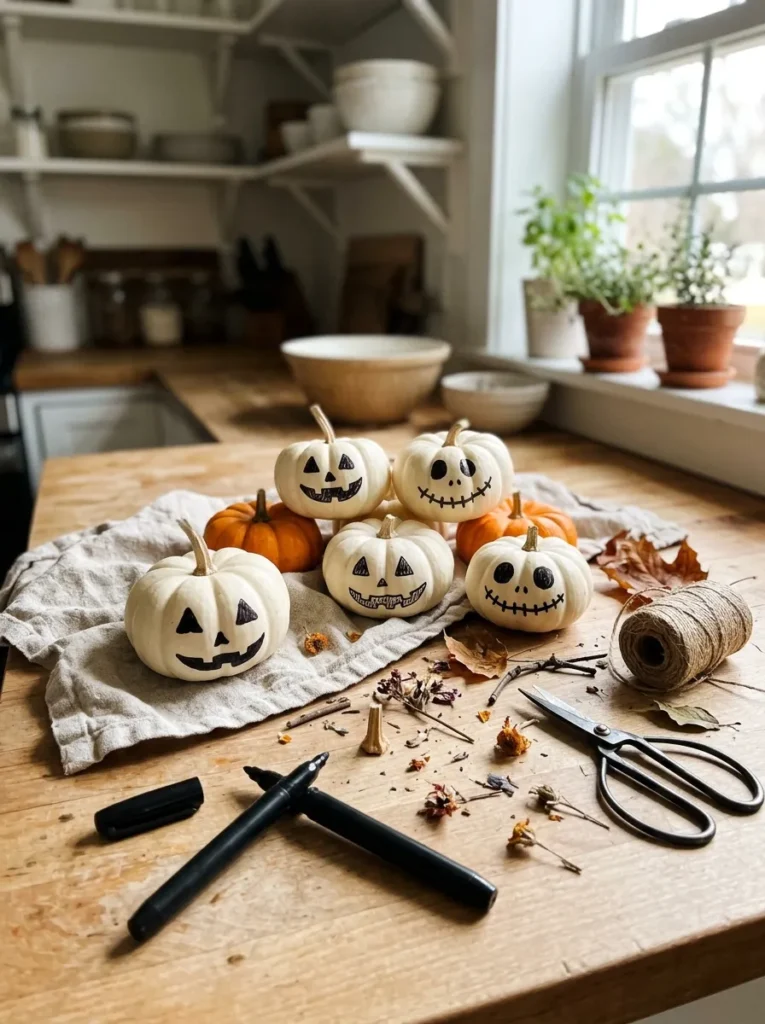
- No carving, no mess
- Draw on real pumpkins
- Lasts longer than carved
- Great for young kids
Drawing on a pumpkin takes minutes and avoids the mess of carving. Use a black permanent marker to draw faces, patterns, or spooky scenes directly on the skin. An uncarved pumpkin also stays fresh longer than a cut one. This is a safe activity for kids, since no knives are involved.
19. DIY Witch Legs
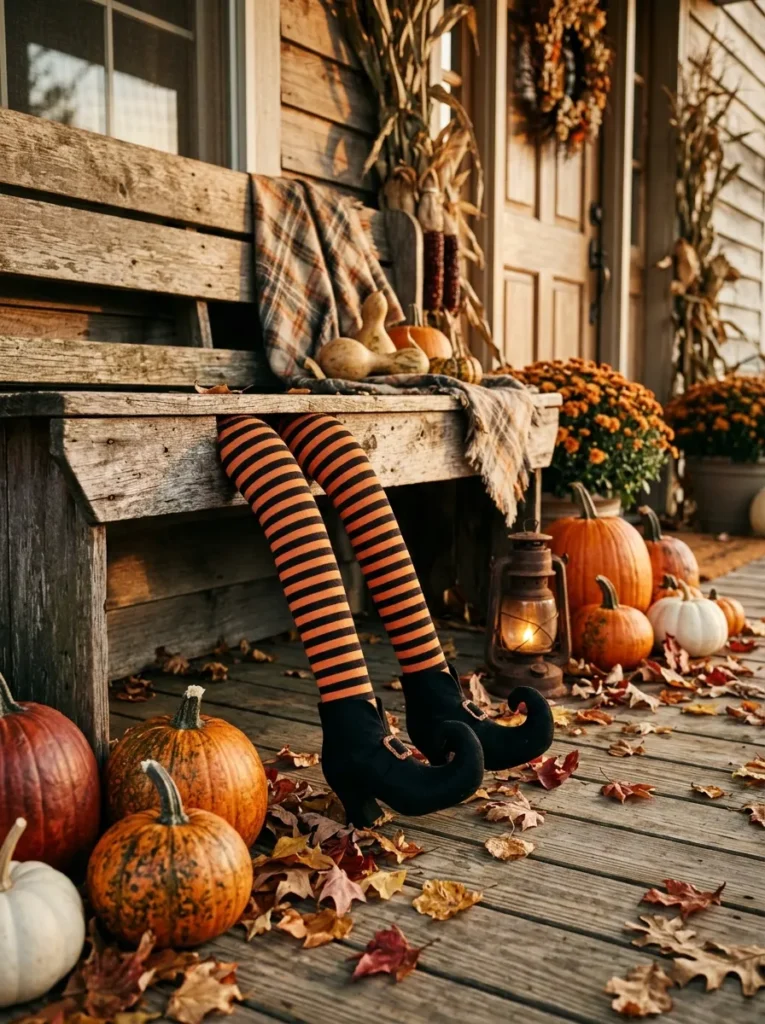
- Stuff striped tights with newspaper
- Add boots from thrift
- Poke through front yard bush
- Anchor with stakes
A pair of witch legs sticking out of a bush or planter is a classic joke that still gets smiles. Stuff striped tights with newspaper or old fabric and slip them into thrifted boots. Tuck the legs into a bush, planter, or under a porch chair, and anchor them with stakes so wind does not blow them away.
20. Plug-In Skull Chandelier
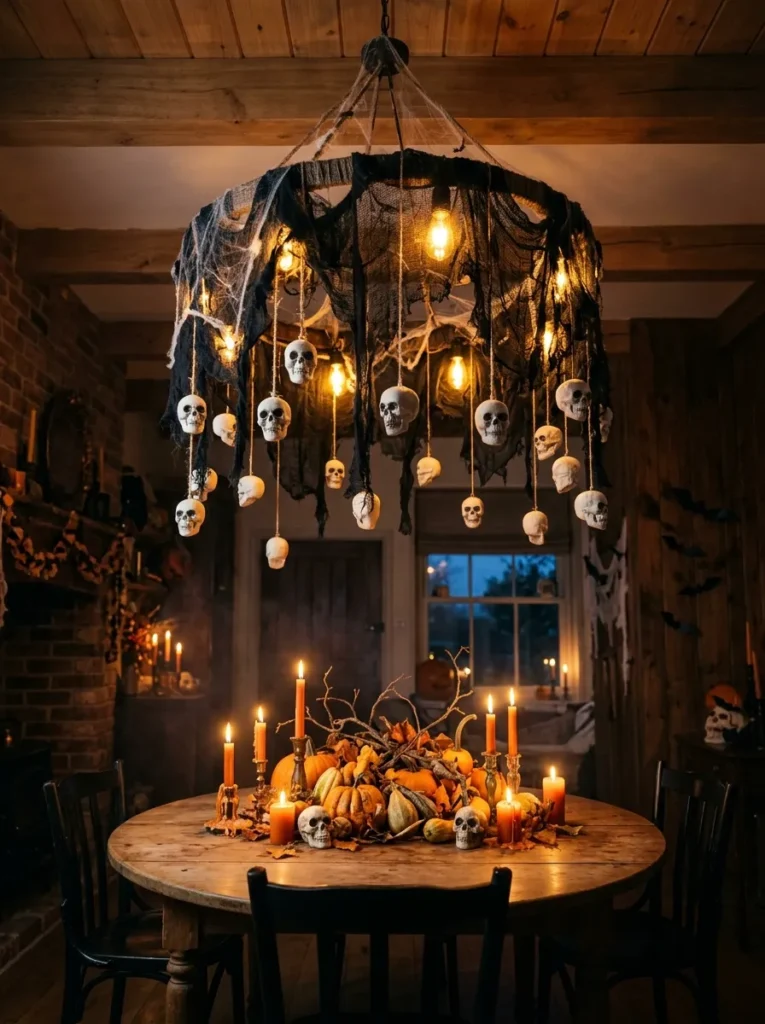
- Basic cord light kit
- Hang plastic skulls around
- Use LED bulbs, low heat
- Hook to ceiling safely
A skull chandelier looks like a pricey prop but comes together with a cheap pendant cord kit. Attach plastic skulls around a metal hoop with wire, then hang the hoop above a lamp or bulb. Use an LED bulb so it runs cool and does not melt the plastic. Keep the skulls well clear of the bulb and mount the hook into a ceiling joist.
21. Feather Crow Swarm
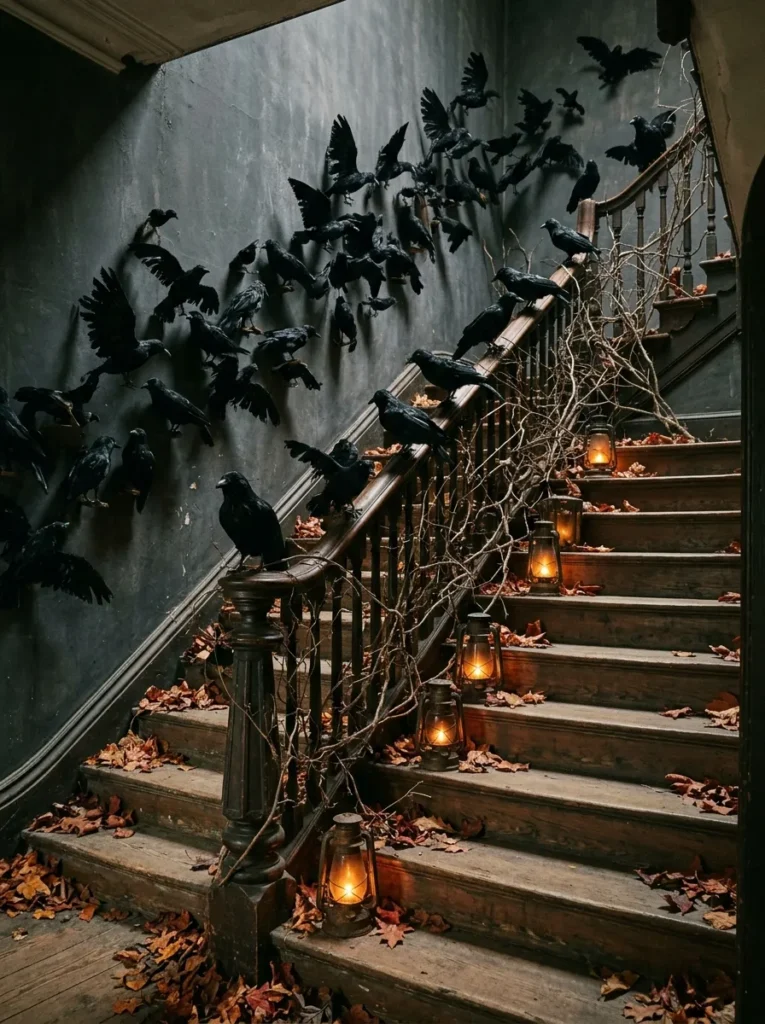
- Craft crows with black feathers
- Glue to foam shapes
- Perch on shelves, mantels
- Hang with thread to fly
A flock of crows looks eerie and elegant. Cut crow shapes from craft foam, glue black craft feathers to the body, and add small orange beaks. Perch some on shelves and mantels, and hang others from clear thread so they seem to fly across the room. Craft feathers are cheap and come in large bags.
22. Painted Thrift Frames
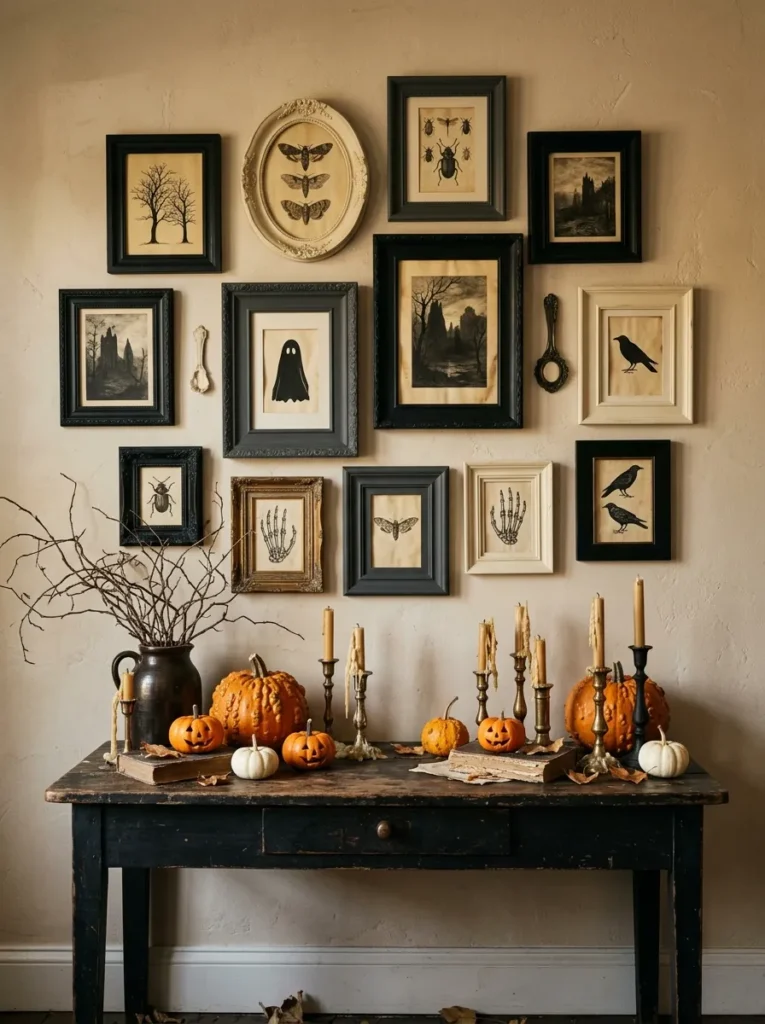
- Spray paint mismatched frames black
- Insert printed gothic art
- Cluster in gallery wall
- Frames cost very little
Thrifted frames are a gold mine for budget Halloween decor. Spray paint mismatched frames matte black, then print free vintage gothic art or spooky portraits and slide them inside. Group them on a wall in a tight cluster for a gallery look. The matching black finish makes different frame styles feel like a set.
Easy Halloween Decor FAQ
1. How can I decorate for Halloween on a tight budget?
Start with what you have, such as sheets, jars, paper bags, and fallen branches. Add a few cheap supplies like black spray paint, cheesecloth, and craft feathers. Easy Halloween decor works best when you focus on a few strong projects instead of many small ones.
2. What are the cheapest DIY Halloween decorations?
Paper bag luminaries, trash bag spiderwebs, and marker drawn pumpkins cost almost nothing. Sheet ghosts and mason jar lanterns also use items most homes already have. Dollar stores and thrift shops fill in anything else.
3. What Halloween crafts are good for kids?
Marker pumpkins, googly eye wreaths, and tissue paper lanterns are all safe and fun. Adults can handle spray paint, hot glue, and any cutting. Kids can focus on decorating and arranging the finished pieces.
4. How do I make DIY Halloween decor look more expensive?
Use a limited color palette, matte spray paint, and neutral materials like kraft paper and cheesecloth. Group items in odd numbers and vary heights. Black frames and gold details also help budget items look polished.
5. How far ahead should I start making Halloween decor?
Start about two to three weeks ahead so paint and glue have time to dry fully. Do larger projects, like the dead tree or skull chandelier, first. Save quick crafts like marker pumpkins for the last few days.
Make Halloween Special Without Spending Big
The best handmade Halloween decor has a personality that store bought pieces cannot match. A glowing paper bag walkway, a few cheesecloth ghosts, or a pair of witch legs in the garden can make guests smile and cost very little. Pick the projects that suit your skill level and your space.
If you want something quick, try the marker pumpkins, ghost mugs, or trash bag webs. If you have more time, the dead tree, graveyard planter, and skull chandelier give your home a real wow factor. Make each one your own, and enjoy the process.
Subscribe to our weekly newsletter for more home decor inspiration, styling tips, and seasonal ideas.
Visit nashradecor for more details.